


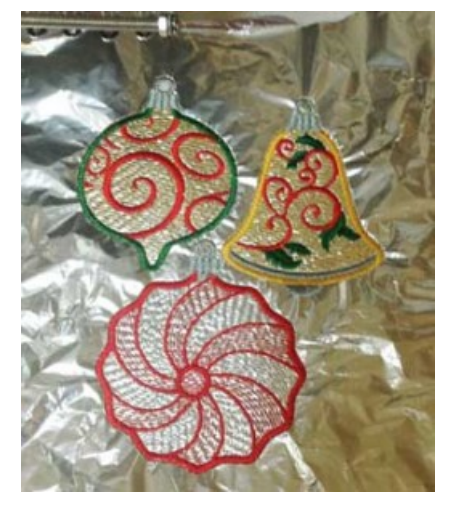
Remember those delicate fragile family heirloom Christmas ornaments that you were never allowed to touch as a kid? Now you can get that same shiny look with your embroidery machine and a small bit of Mylar. And they can't shatter on the floor!

Introducing "All That Glitters" for the Designer in You!
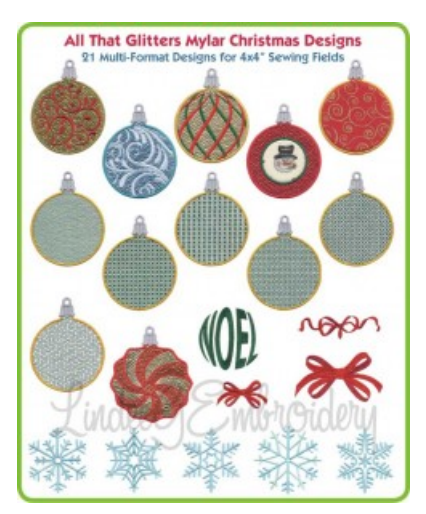
All That Glitters Mylar Christmas Designs was thoughtfully designed for the creative embroiderer. It includes 11 round ornaments and 9 "add-on" embellishments plus a bonus ornament. These embroideries are designed for maximum flexibility! You can stitch them with or without Mylar.

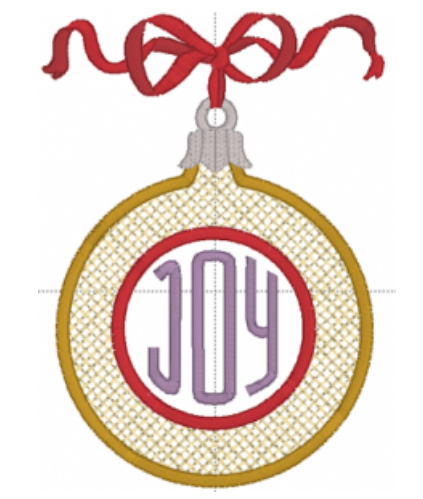
You can stitch them as standard applique with or without the background fill. You can stitch them as direct embroidery or free-standing applique. You can combine the add-ons to the Mylar filled versions or the plain applique. You can even mix in other designs from your stash to extend the designs even further. The following sample uses one of the included monogram fonts with Essentials combined with a bow add-on and the center feature ornament.
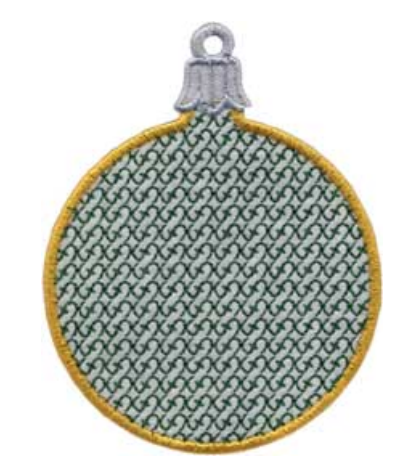
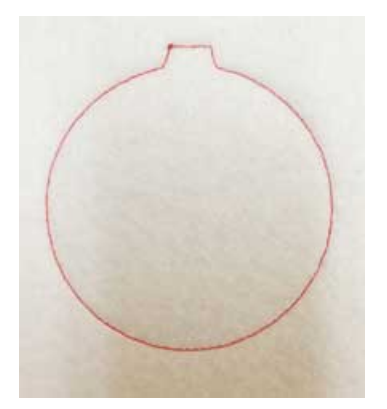
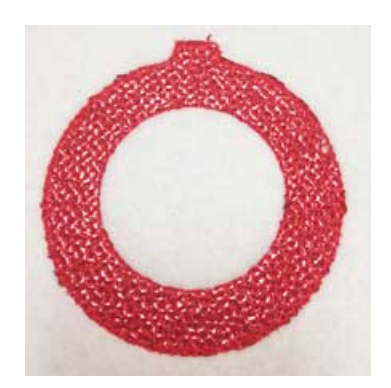
To make them fast and easy, they have few color changes and low stitch counts. Also, since all but one ornament use the same applique shape, you can easily mix and match fabrics. If you have a digital cutter, you can really go to town and still whip up a batch before Christmas! In addition to the designs, the collection includes applique templates for hand or machine cutting. All the round bulbs use the same shape so cutting enmass is simple. There is also the circular pattern for the center feature and the shape for the "mint" shape, which is somewhat of an extra with this collection.
Sometimes it's the simpler designs that offer the most creativity and flexibility!
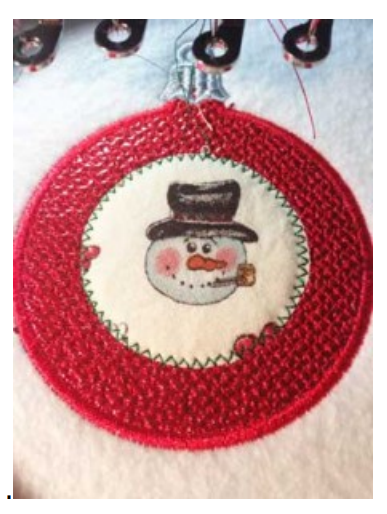
Designing with the Center Feature Ornament
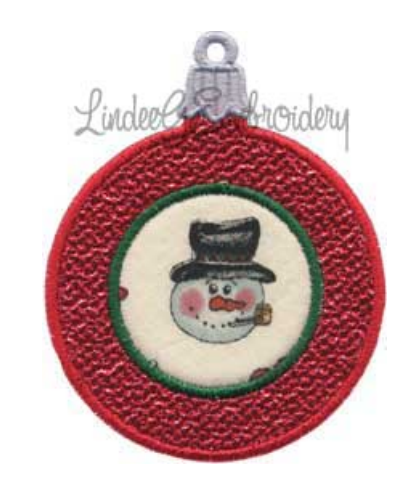
The center feature design offers quite a bit of possibilities. I've fussy cut a piece of fabric from my stash as an insert. You could also you a photo printed fabric insert or a pretty holiday colored fabric with a monogram or short word.
With a little more work, you can drop out the Mylar fill and replace it with a standard applique fabric. Then with your lettering software, arc some text into the area. How about a fabric print of your child's school picture with the year underneath for the grandparents?
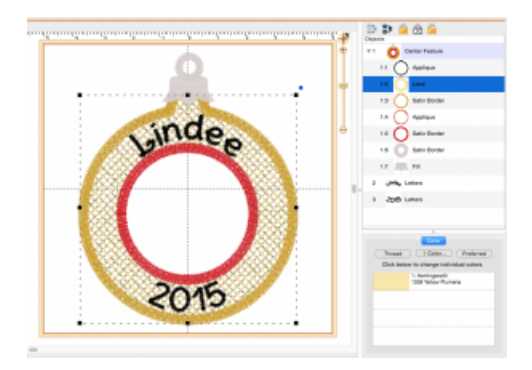
If you're observant, you'll notice that this design was digitized in StitchArtist. I had hoped to release these as BX design library but that part of the program is not functioning yet so I'm just releasing the standard stitch file formats I usually support. The highlighted object in the Objects panel on the upper right is the Mylar fill section. Just delete it if you don't want it for your edited version.
Maximum Flexibility Designs!
These designs have been programmed with multiple color stops to make customizing easy. For example the light fills intended to stitch over Mylar can easily be deleted in software or skipped at the machine. Likewise, the second color on the ornament cap—which I've run in the same color as the rest of the cap—is only necessary if you want to do free-standing applique. Otherwise you can skip or delete it. I've included multiple Mylar fills so you can select one you like. Here's one that doesn't have any Mylar under it so you can see the stitches:
Appliques & Extra Colors
If you've never sew machine embroidered applique, there can be up to 3 color stops in the design for each applique. First is the position stitch, which is most often a run that outlines where the applique goes. Second is the tack down stitch. In my designs, I most often use a zigzag here because it catches the fabric better and is less likely to push a little pleat into the fabric. Finally the cover stitching—usually a satin—runs. When you look at your actually stitch file, these all need to be separate colors if they run consecutively, otherwise your machine won't stop. Therefore you need to refer to the color sequence list. I do understand there are people who think this might be too difficult—skipping colors or using software—so I have included a plain applique ornament. I promise you though, simple modifications like this really are simple once you try it!
Add-On Embellishments
The add-ons can be combined with any of the Mylar fills or the plain applique. You can combine them either at your machine or in software. While all the designs and individual add-ons will fit a 4x4 hoop, if you add a bow to the top of an ornament, you'll likely need a larger hoop or you can rehoop or use a multi-position hoop. (Instructions not included for that!)
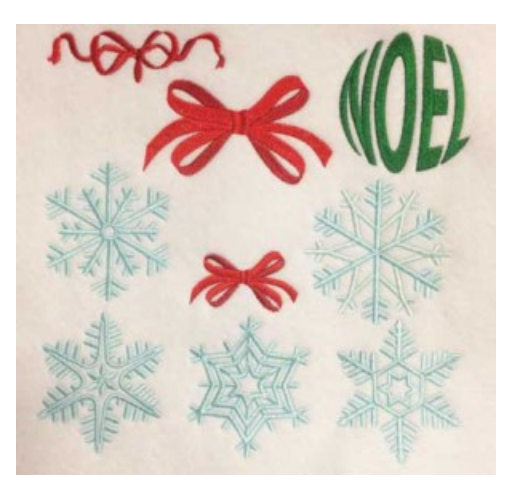
Of course, the add-ons can work stand alone and feel free to sort through your stash for other suitable designs you can combine. The basic round ornament and the Mylar fills are perfect for that!
Advanced Customizing
I've done all my designs on the first few ornaments on top of the curved fill variation. Depending on the color of thread and Mylar you use, the various background fills may be more or less prominent. If you decide you like the swirly design on Swirls 2 and the meandering fill on Mylar Fill 6, it's not terribly difficult to isolate and copy the color block for the swirls and paste it into the right place on the other design. For the designs on the first few ornaments that are more "finished" it was important that the designs be a little more integrated than just dropping in an add-on at the end of the design. But that doesn't mean it's major surgery to extract them and use them on one of the other ornaments.
Customize with Color
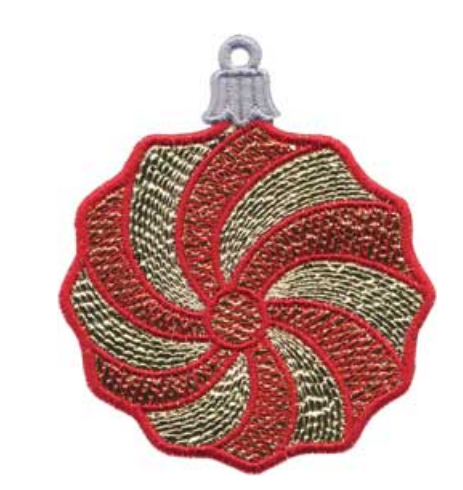
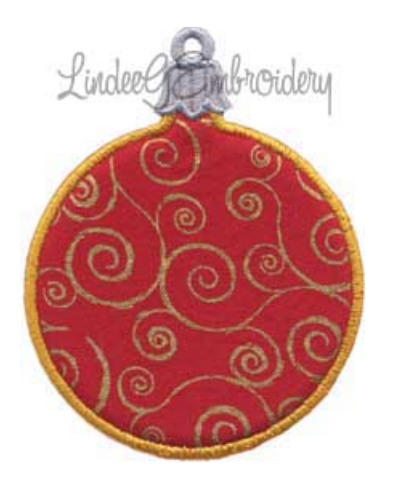
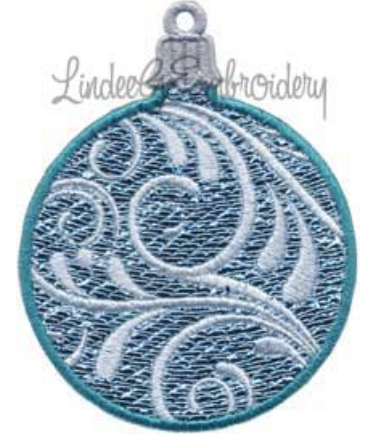
These designs can be stitched with any colors you like. In fact, when I started stitching them, I chose entirely different colors from what I picked when digitizing. On Swirls 2 I used a light blue Mylar and stitched over it with white to soften it a bit. I was going for a wintry, cold look here. The white softened the blue color even more and the stitches breaking up the Mylar gave it almost a crystalline appearance.
How to Embroider with Mylar
Mylar works best when stitched under a light fill. The lighter the fill, the more the Mylar can sparkle through. All the sparkle in the designs you see here comes form the Mylar. Of course you could add even more with metallic thread. For these designs I've created curved and motif fills use Embrilliance StitchArtist. I have two YouTube videos on how to create the curved fill and the stitch carving you see on the caps of the ornaments. If you have StitchArtist Level 3 you can duplicate these techniques.
Mylar is available in colors from Nancy's Notions. I sprung for the mega pack because I couldn't decide which colors to order. According to the description, this product is machine washable but I haven't actually tried that.
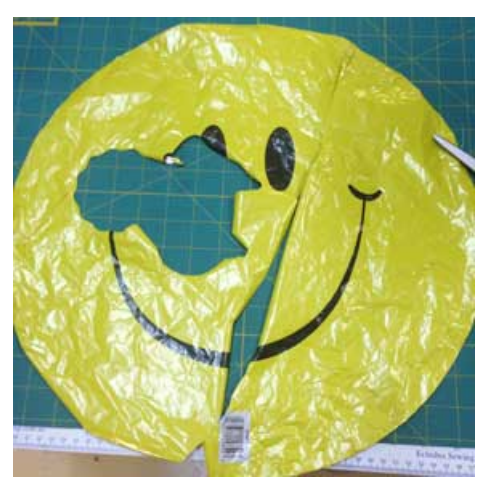
Another alternative to Mylar that I've used for years and years is party balloons. I think these fill densities might be a little too open for the printed side of the balloon but the inside is silver and looks just like those old family heirloom ornaments. Below you can see some early samples, one that was modified and two that didn't make the cut for various reasons. These are stitched on the "wrong" side of the happy face balloon shown following. Ask for damaged balloons at the party store and you can often get them for free!
hese designs are set up as standard appliques. Sew the first color to get the placement line.
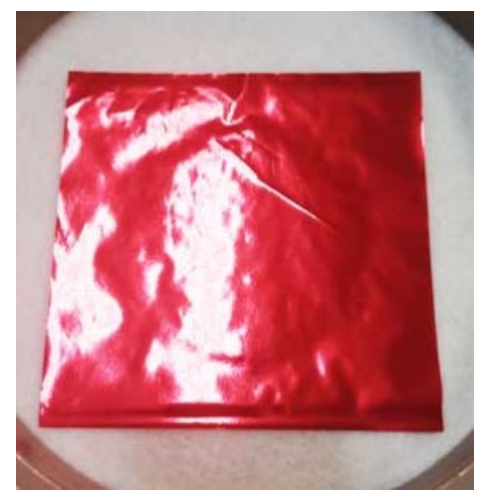
Then lightly mist the back of a 4x4" square of Mylar with TESA (I use KK2000) and smooth it over the stitching line.
Sew the design up through the background fill then stop the machine and carefully tear off the Mylar. If you tear toward the stitching line you'll get a nice clean finish.
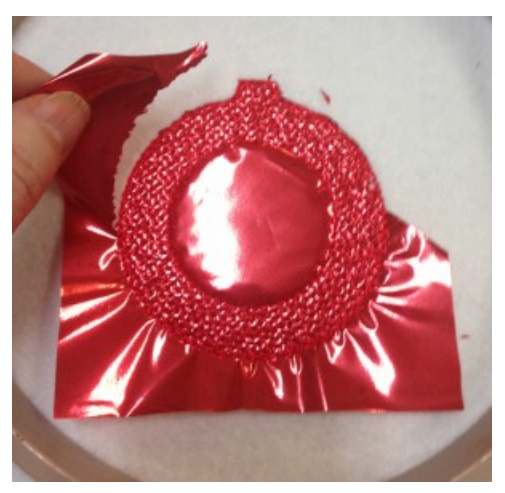
Don't forget the middle!
Then complete the rest of the stitching. This design has a second applique for the center. Place the precut fabric and then stop the machine after the zigzag tack down (if it doesn't stop automatically) to inspect your work. The zigzag should just cover the edge of the fabric and there shouldn't be any excess extending out beyond the edge.
I usually precut all my appliques before placing them in the hoop. However, Mylar is a bit tricky to work with and since it is so easy to tear off after stitching it in place, I just use the "blob method" of applique in this case.
Stitching with Fabric?
If you're doing actual applique with fabric, then use the pattern pieces to precut your fabrics. You can either cut by hand or by machine as long as it's accurate. I also like to use a fusible web on the back of my fabrics for a smooth, long lasting great appearance. Instead of placing the Mylar, position your pre-cut applique exactly within the sewn lines. The next color will zigzag tack it in place. If any fabric is extending beyond the zigzag you either incorrectly cut or placed your fabric and you'll likely have fabric extending beyond your applique. Carefully try to trim off any excess without cutting any stitches or disturbing your fabric tension in the hoop.
What's Included with the Collection
All That Glitters Mylar Christmas Designs includes 21 designs in all the supported formats usually found in my shop. The collection also includes color sequences, templates, and instructions for standard applique and a reprint of this blog post as a PDF for off-line reference.
The designs are also available individually. Please note that instructions are not included on individual designs. I'll be posting videos on how to use these designs on YouTube so go there and subscribe and you'll get an email notification of when they're available.
By the "Lindee G Embroidery" Team
