


What you’ll need:
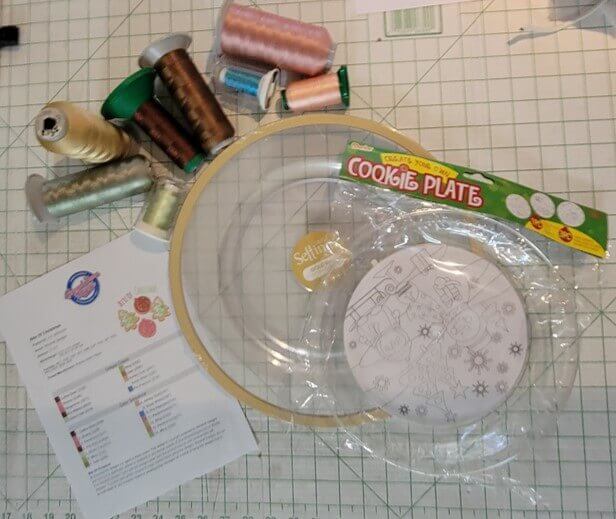
- Darice “Cookie Plate” with coloring inserts
- White cotton fabric
- Tearaway stabilizer
- Embroidery thread to stitch the design
- Flat trim to cover outer cut edge
- Fabric glue
- Cookies for Santa!
Featured Designs:
https://www.grandslamdesigns.com/bite-of-christmas-embroidery-design?variant=1
Additional designs that will work for this project:
https://www.grandslamdesigns.com/where-are-my-cookies-embroidery-design
https://www.grandslamdesigns.com/christmas-gingerbread-cookies-applique-embroidery-project
Notes:
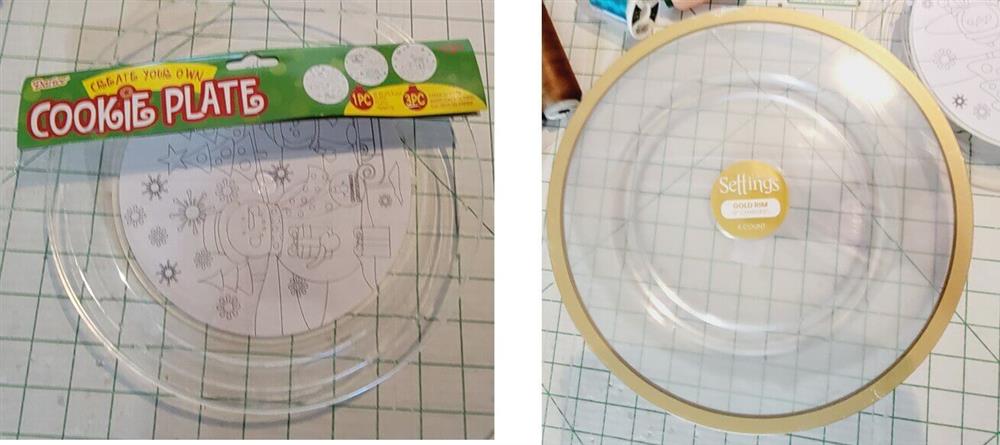
- The plate used in this project was purchased at a local craft sale after the holidays last year.
- In place of the Darice plate, acrylic charger plates can be used (available at party supply stores and on Amazon) and a placemat made instead.
- A 5” x 7” hoop was used to stitch the design.
- The fabric was cut larger than needed, then cut down after the design was stitched, marked, and the trim applied.
Preparation:
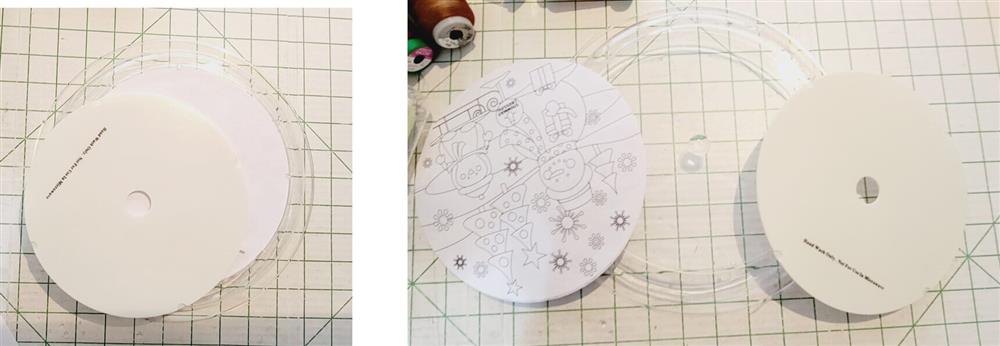
- Take off the back of the plate and take out the coloring inserts; set them aside to be used later.

- If using clear acrylic plates, measure the center portion and add about 2” all the way around. Cut the fabric to be hooped.
Machine prep and hooping:
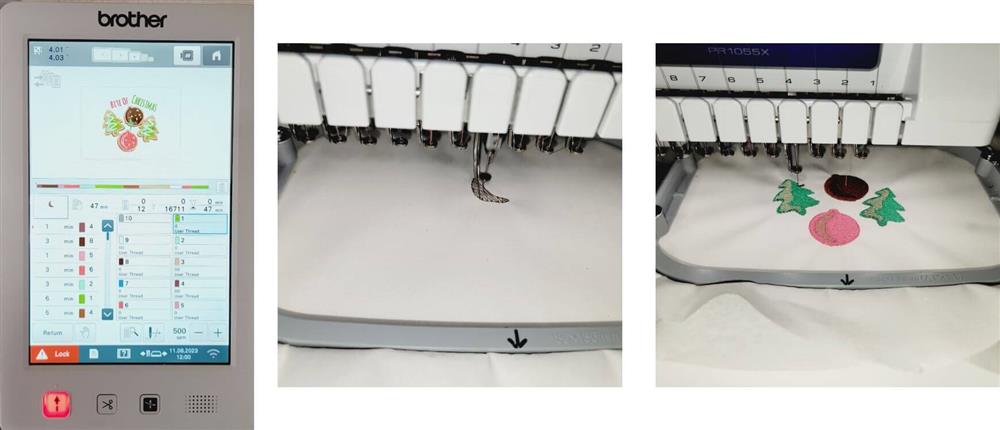
- Load the design on the machine.
- Hoop the fabric with a piece of tearaway stabilizer.
- Stitch the design using the selected colors.
Working with the plates:

- While the design stitches, do some prep with the plate.
- The plates are acrylic, so they are see-through.

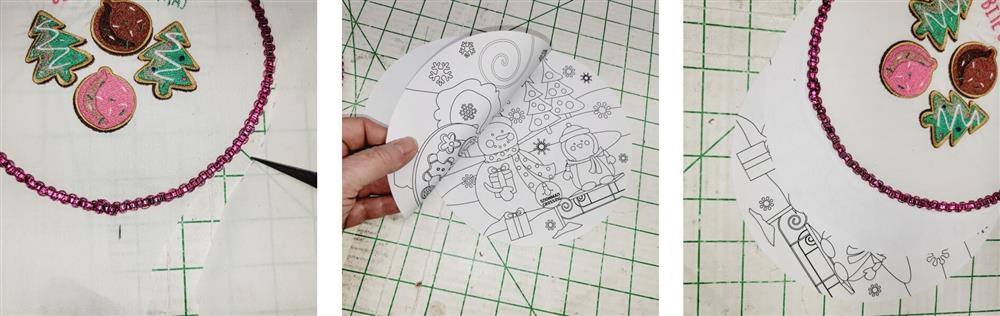
- For the plate used for this project, the coloring inserts will be used to cut the fabric.
- Choose one of the papers and quarter fold it.
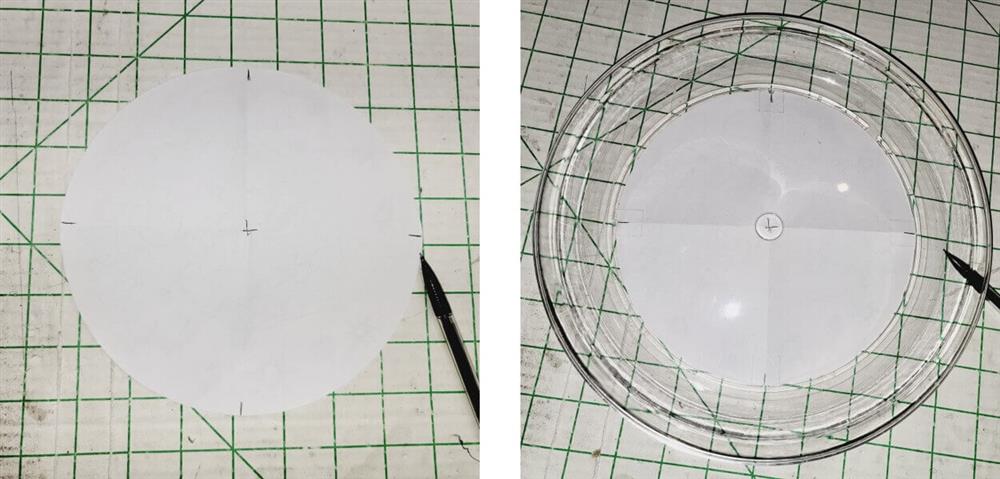
- Open up the paper and make tick marks at the outer edges of the paper creases.
- This will be used to align the fabric for trimming and make a mark for trimming.
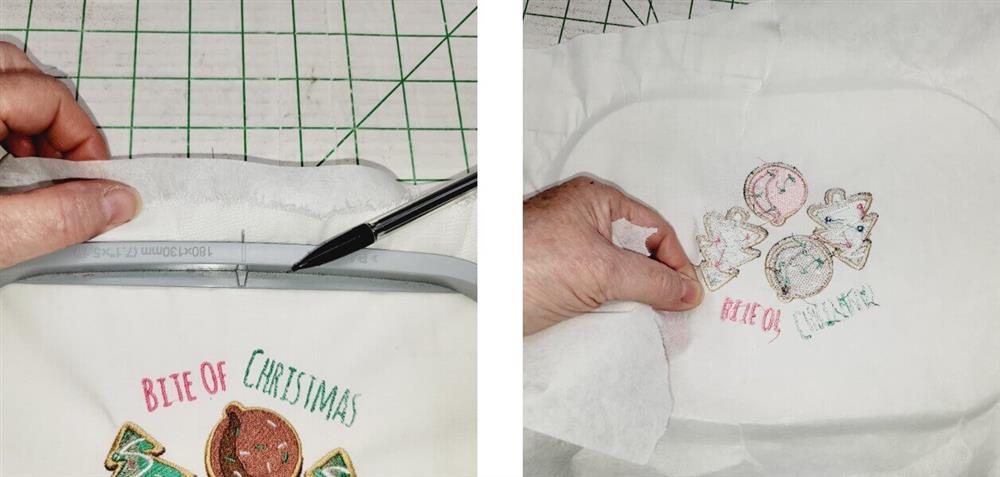
- After the design has stitched, remove the hoop from the machine but do not unhoop the fabric.
- Along the outer edge of the hoop, use the tick marks on the hoop to make tick marks on the fabric along four sides.
- Remove the fabric and tear away the excess stabilizer; press the fabric.

- Place the paper with the tick marks over the design and align the tick marks on the paper with the tick marks on the fabric.
- Use a pencil to trace around the paper on the fabric.
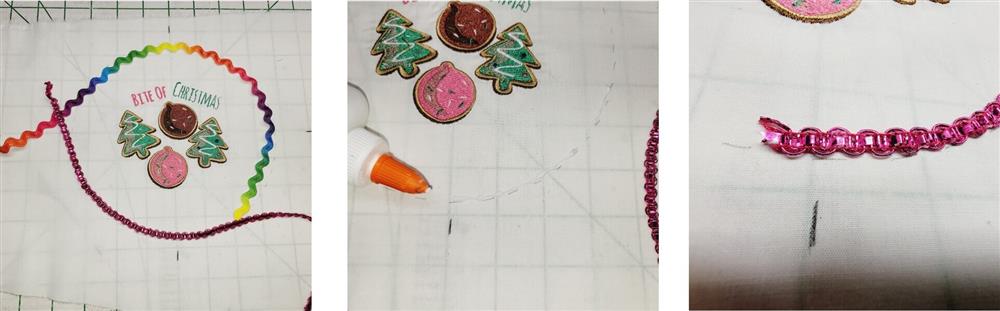
- Audition different trims to see what you like; just be sure they are flat-type trims so they’ll fit under the plate.
- Working in small sections, place a small amount of glue just inside the pencil line.
- Place the trim on top of the glue, with the outer edge of the trim just to the inside of the pencil line.
Final Steps:
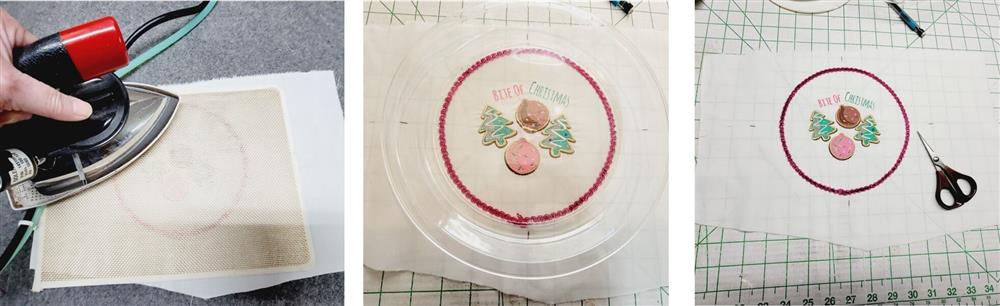
- Using a warm, dry iron and press cloth, press the trim to set the glue.
- Double check to make sure the trim is going to fit under the area on the back of the plate.
- Slowly and carefully, trim along the pencil edge being very careful not to cut into the trim.
- Place one or two of the pieces of color papers behind the fabric to help fill the space; make sure the plain side is behind the embroidery.
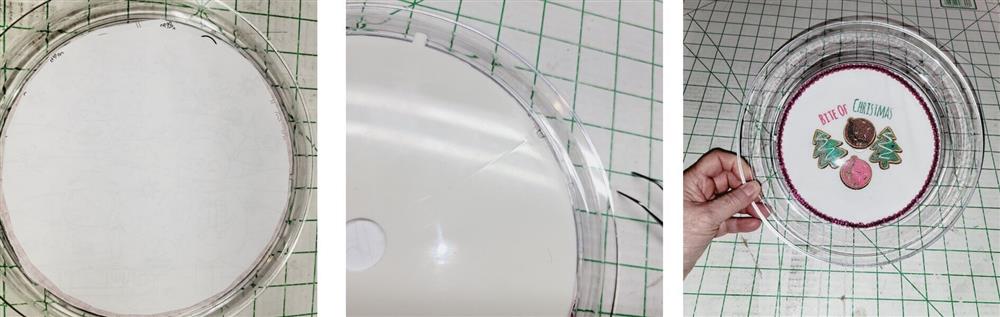
- Place the plate, face down. Place the embroidery face down on the back of the plate followed by the coloring papers (trim if needed—these are just to be space fillers if needed), and then place the back on the plate, inserting the tabs under the hooks on the back of the plate.
- The plate is complete.

- If you cannot find the Darice Coloring Plates, find some clear acrylic plates and make a mat or placemat to go under the plate, using the same embroidery.
Conclusion:
Congratulations! Whether for yourself or a gift, learning new ways to use designs increases your enjoyment of stitching. There is no doubt your project will be a “Grand Slam!”
By the “Grand Slam Designs” Team
By the "1Z Embroidery" Team


