


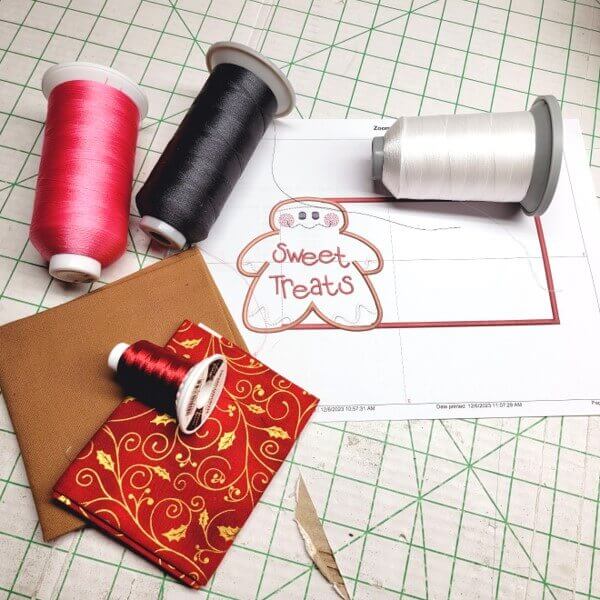
What you’ll need
- The amounts of fabric and batting needed will depend upon your hoop size and the digitizing done for that hoop size.
- 2- Red fabric for mat side of project
- 2- Gingerbread colored fabric for applique
- 1- Batting
- Embroidery thread to match fabric colors and as stated in color sequence
- Bobbins: use the same embroidery thread in the bobbin for the satin stitching
- 2- fibrous type water soluble stabilizer to fit hoop
- Water and new cosmetic sponge
- Embroidery digitizing software
Featured Design
https://www.grandslamdesigns.com/sweet-treats-gingerbread-applique-embroidery-design
Notes
- This project was created in embroidery digitizing software first, then stitched out at the machine.
- Steps are given for creating the project; they are generic so use the software you have that can digitize single stitching lines and satin stitching lines.
- If you do not have software, the project can still be created by: stitching the Gingerbread applique on two layers of water-soluble stabilizer and then attaching to a mug mat created by using the sewing machine.
Preparation
- Read through the directions completely before beginning.
- Color stops are created by changing colors in the software. This allows for fabric placement and trimming.
- For the digitizing simple directions are given—this is a very simple digitizing project.
- Digitize the project and then test stitch, doing any editing if needed before completing the final project.
- This method of using an applique design and making it into a mug mat will work for many applique designs.
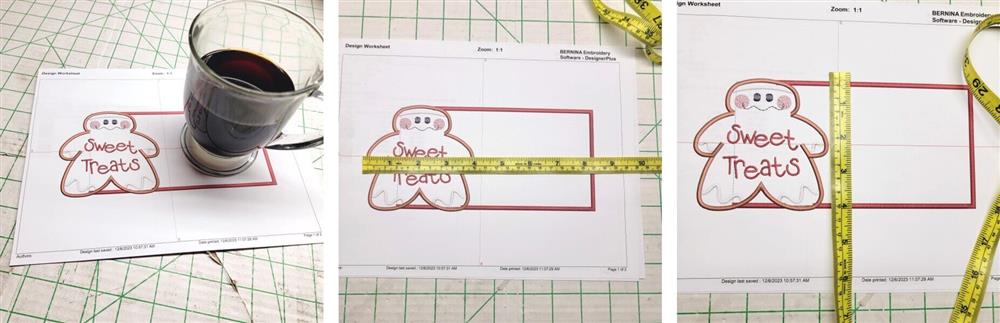
- For the fabric and batting, create the design in the software and then measure the amounts you’ll need.
- The mat portion of the design should be large enough for a standard coffee cup.
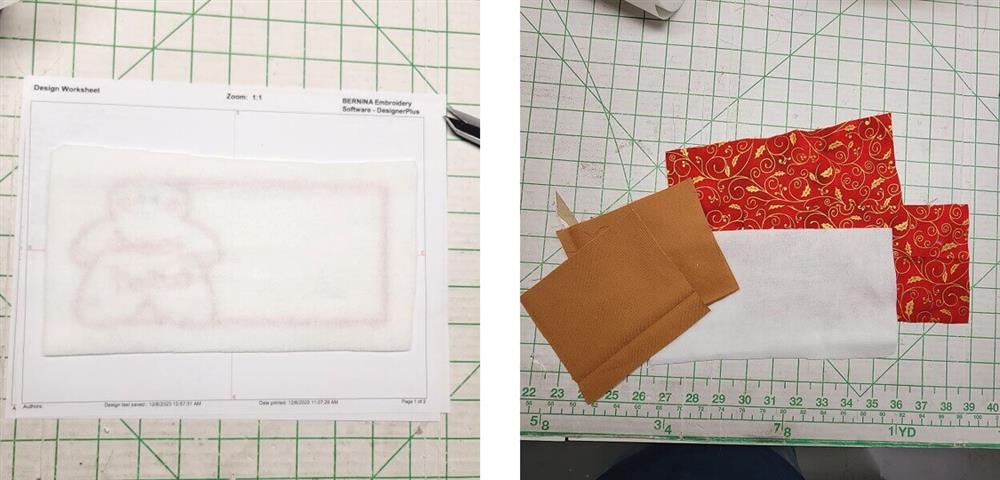
- After measuring the amount of fabric needed, cut the batting and fabrics larger than needed; they will be trimmed down during steps of the embroidery process.
Digitizing In Software
Using the digitizing software, digitize the following steps; use a separate color for each step to force the machine to stop for placing down fabric and trimming:
- Select the hoop.
- Import the Gingerbread applique design, making sure the design is grouped.
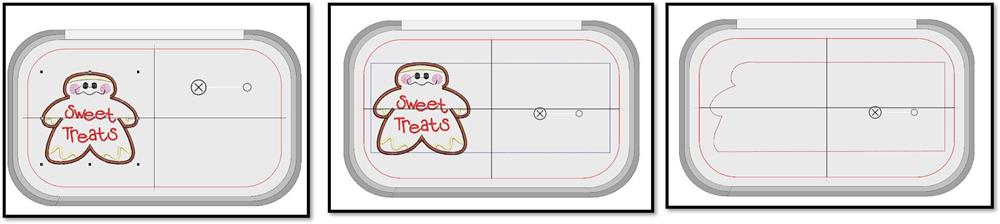
- Move the design to the left in the hoop.
- Digitize a rectangle as a placement line for the batting. The rectangle should go to the left of the outside arm of the design and to the middle of the applique satin stitch at the top and bottom; the right side of the rectangle should be all the way to the right side of the hoop.
- Digitize the tack down line for the batting, following along the left side outline of the applique and the rectangle outline previously digitized.
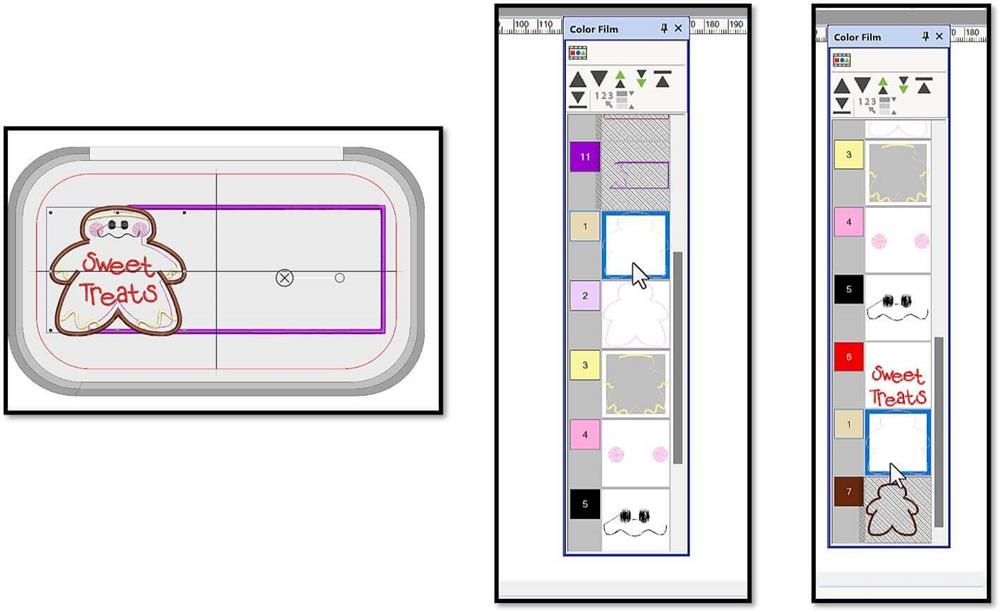
- Change all the colors to reflect the colors of thread to be used for stitching.
- Do a virtual sew out to make sure everything is going to stitch in the proper order.
- Save the design.
- Export the design in the machine file format needed for stitching.
- Test the design, going back to the design and making any edits needed before stitching the final project.
- Use the next steps to stitch the design. You’ll see why all the color stops are needed for placing down fabric, tacking it down, and then trimming.
Machine prep and hooping
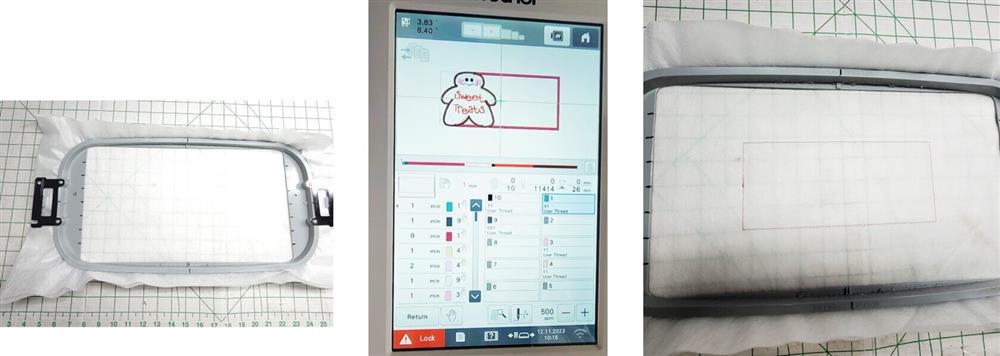
- Hoop two layers of water soluble stabilizer
- Load the design on the machine.
- Stitch the placement line for the batting.
Stitching
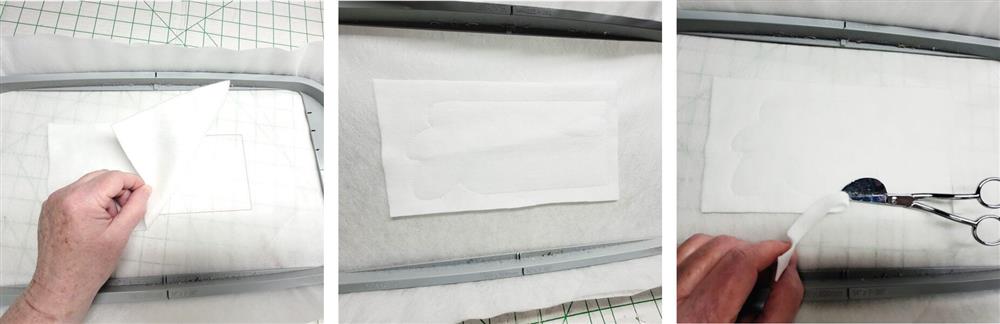
- Remove the hoop from the machine and place the batting over the placement line.
- Return the hoop to the machine and stitch color 2, the tackdown line for the batting.
- Remove the hoop from the machine and trim away the batting next to the stitching line.
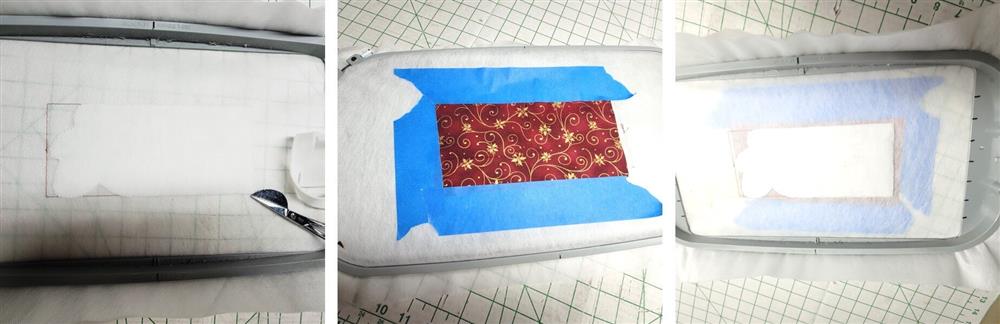
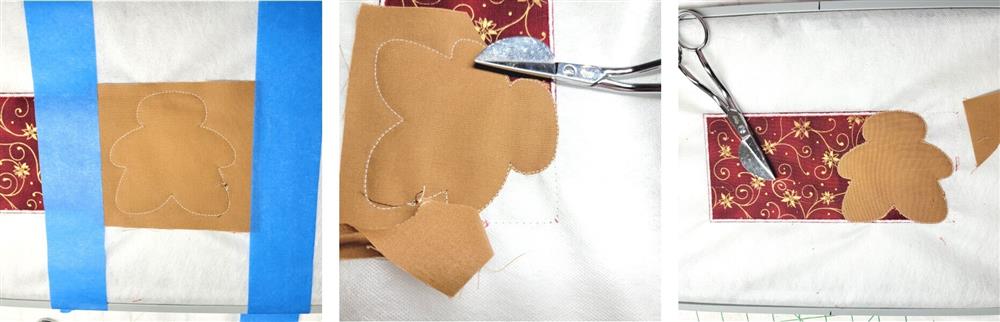
- After all the batting is trimmed away, flip the hoop over and place down the back fabric for the mat, using painter’s tape to hold it in place.
- Flip the hoop to the right side.
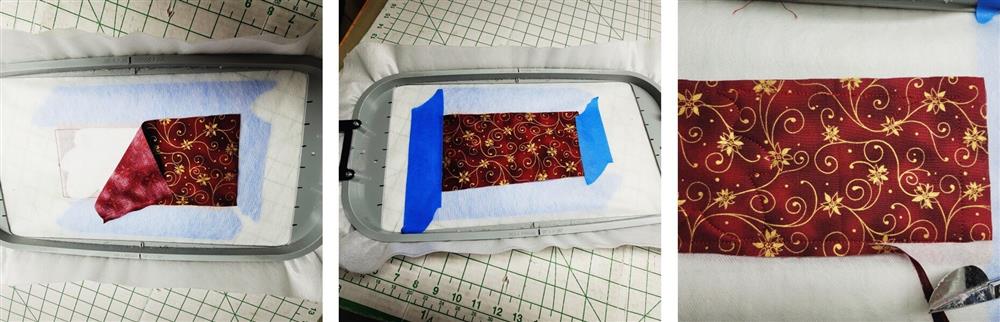
- Place the red fabric over the placement line on the right side and tape in place.
- Stitch color 3, the tackdown line on the red fabric.
- Carefully remove the tape.
- Trim the fabric close to the stitching line.
- Trim the fabric close to the stitching line on both the front and back.
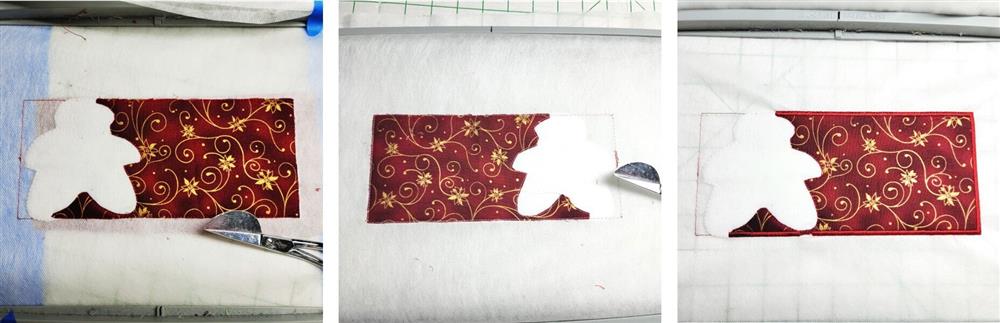
- Place the hoop back on the machine and stitch color 4, the satin outline for the mat.
- Remove the hoop from the machine.
- Place one piece of the ginger fabric on top of the gingerbread outline; tape in place.
- Place the hoop on the machine and stitch color 5, the tackdown line and underlay stitch.
- Remove the hoop from the machine and trim the fabric close to the stitching line.

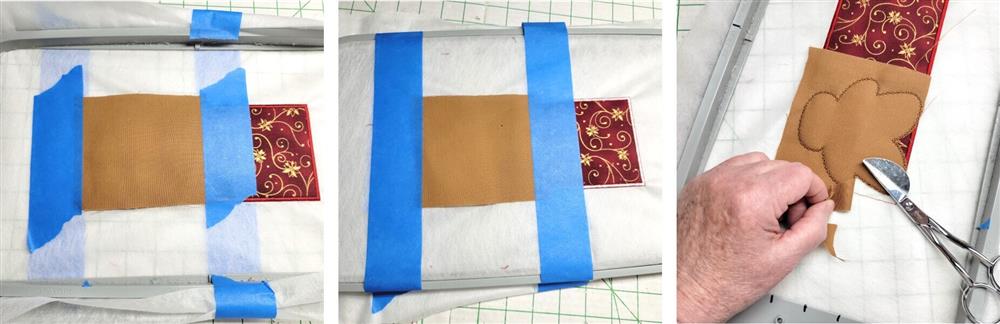
- Place the fabric back on the machine and stitch the colors for the frosting, cheeks, and face.
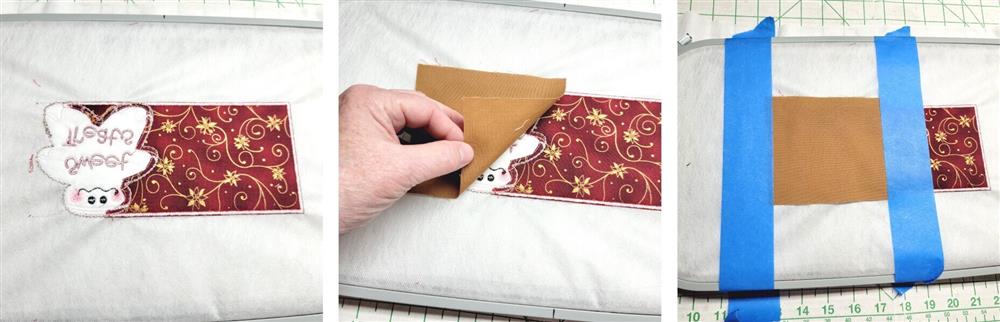
- Remove the hoop from the machine and flip it over.
- Place the second ginger fabric over the back of the design and tape in place.
- Place the hoop on the machine and stitch the next color, the tack down for the fabric.
- Remove the hoop from the machine and trim the fabric close to the stitching line.

- Place the hoop back on the machine and stitch the final color, the satin outline for the Gingerbread design.
Final Steps
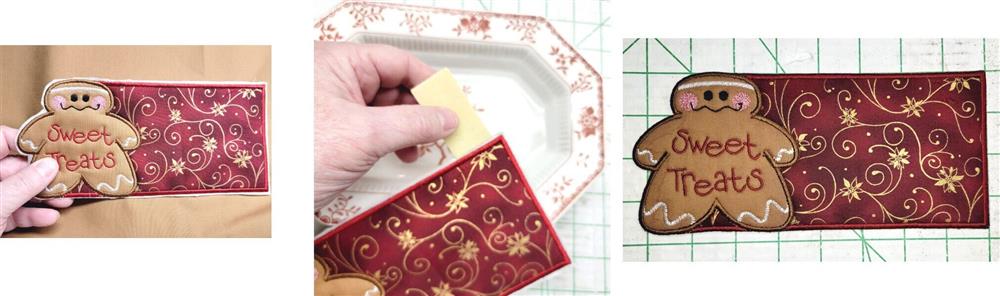
- Remove the project from the hoop.
- Trim the stabilizer close to the outside satin edges.
- Dip the sponge in water and go around the edges to dissolve the remaining stabilizer.
- Lay the project flat to dry.
