


INTRO
Can Koozies are so simple to stitch and assemble. All ages love them! Make several--they make great keepsakes guests can take home after a party.
What you’ll need
For each Koozie:
1- Can Koozie
1- Tearaway adhesive stabilizer to fit hoop (cutaway sticky may also be used)
Embroidery threads as stated in color sequence
Sewing thread to match Koozie
Canned beverage of your choice
Featured Designs
https://www.grandslamdesigns.com/baseball-coach-3-embroidery-design?variant=1
https://www.grandslamdesigns.com/baseball-sass-embroidery-design?variant=1
Notes
- Koozies are available from companies who sell embroidery blanks.
- For this project, use a larger hoop so that the entire Koozie stays flat in the hoop while stitching.
- Embroidery one side of the Koozie with a design, and personalize the other side with a name.
- Be sure the design chosen fits at least 1/4" -3/8" inside the outer edges of the Koozie.
Preparation
- Gather all the materials . Print out the design at actual size. Read through all the instructions before beginning.
Machine prep and hooping
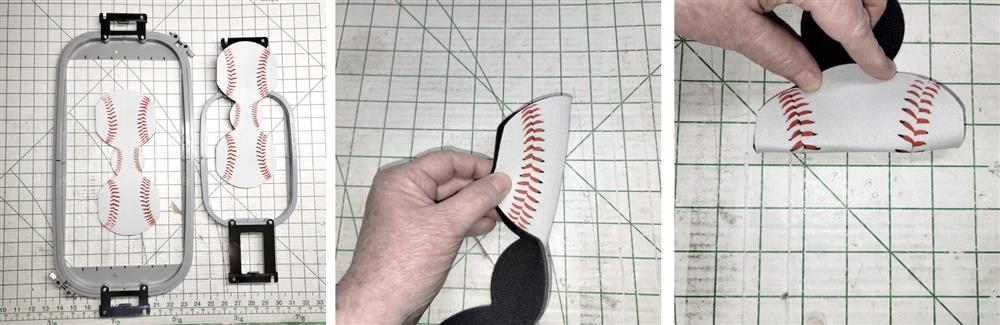
- Fold the Koozie in half lengthwise and crosswise to find the center. Repeat for the other side if it is to be personalized.
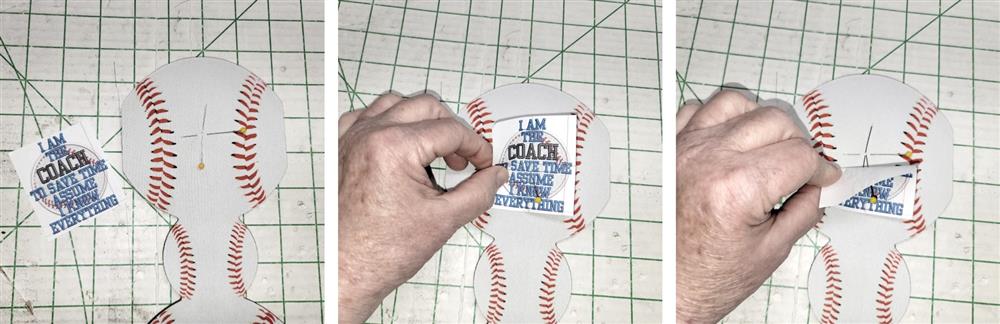
- Center the printed design over the center of the Koozie, marked by the pins.
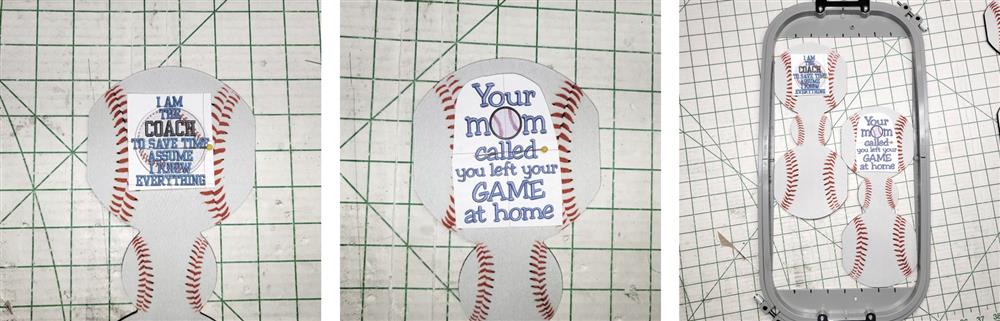
- If there is a hoop large enough for your machine, you may be able to gang up two Koozies in one hooping.
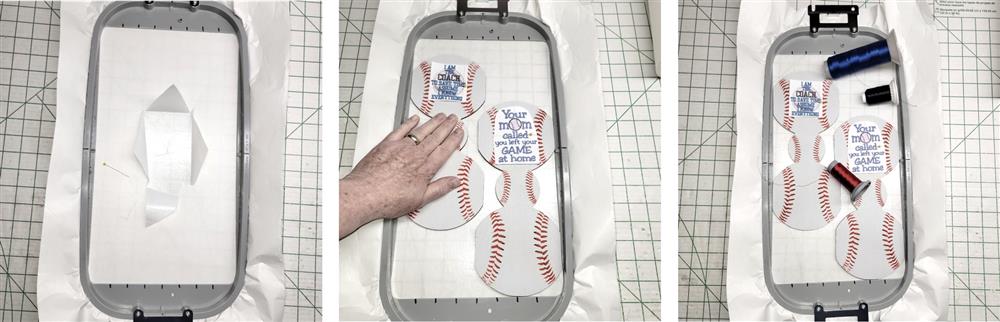
- Hoop one layer of tearaway adhesive stabilizer, paper side up. Score the paper and remove it to expose the adhesive.
- Center and place the Koozie right side up in the hoop. Press down on the Koozie to make sure it is securely adhered to the stabilizer.
- Choose the embroidery threads for the designs.
Stitching
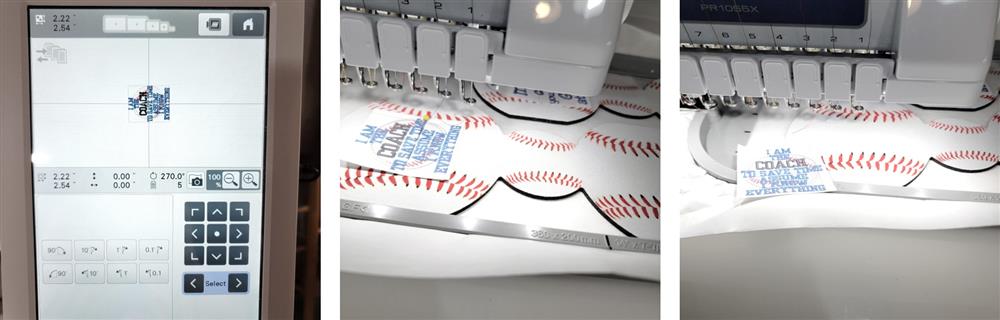
- Load the design on the machine. Load the thread on the machine, rotating if necessary. Center the needle over the center of the paper design. Remove the paper template.
- Slow down the machine when stitching the Koozie.

- Stitch the Koozie following the color sequence.

- For the second design, align the needle over the center of paper template. Remove the template and stitch the design following the color sequence.
Personalization
- If you wish, in software or at the machine, create the personalization. This could be a name, a date, a saying, or anything else you wish.

- If the second side of the Koozie was not marked in the beginning, trace a paper template.

- Quarter fold to find the center.

- Pin the traced shape over the second side, and mark the center point with a water or air soluble pen.
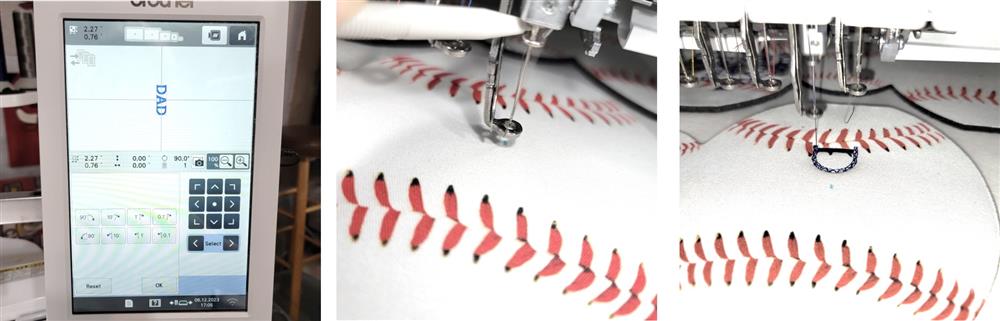
- Rotate the design for stitching if needed. Stitch the personalization.
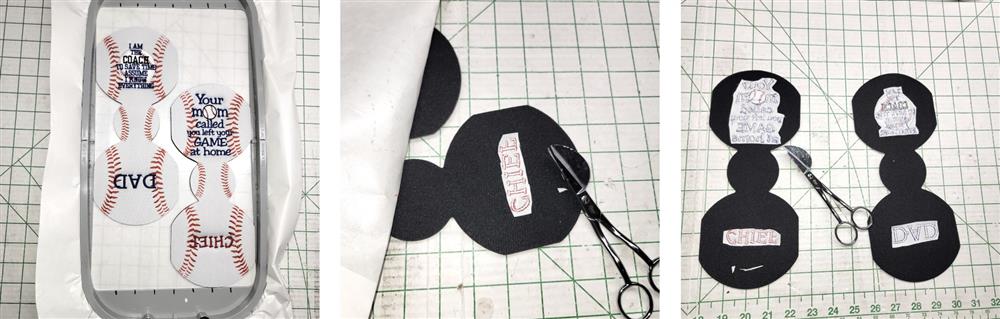
- When all the stitching has been completed, carefully cut away the excess stabilizer from the backs of the Koozies.
Final Steps

- Sew the Koozie together. Fold the Koozie, wrong sides together, matching the top and side edges. Set up the sewing machine for a zig zag stitch.

- At the sewing machine and using matching thread, stitch each side from the top to the bottom using a zig-zag stitch. The left side of the zig zag stitch should be on the Koozie, and the right side should fall off to the right.

- The side stitching completes the Koozies. For additional accessories, look at the Grand Slams Design Blogs for May 20 and 21 for the coordinating napkins and coaster instructions.
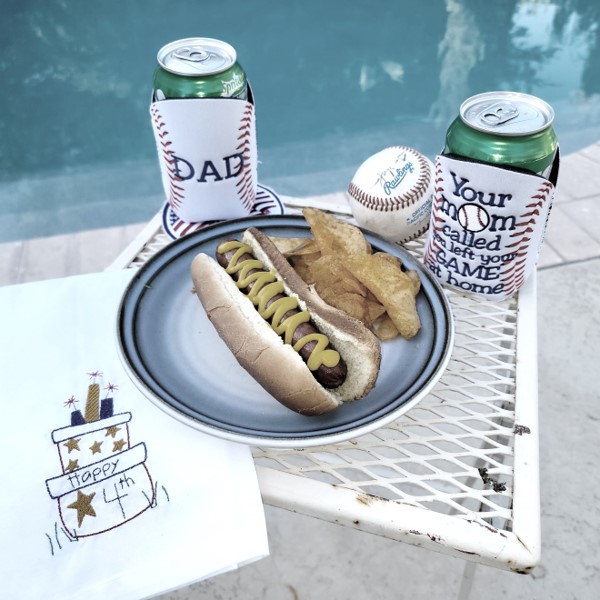
- Slip the beverages into the Koozies and enjoy!
Conclusion:
Congratulations! Whether for yourself or a gift, learning new ways to use designs increases your enjoyment of stitching. There is no doubt your project will be a “Grand Slam!”
By the “Grand Slam Designs” Team

