


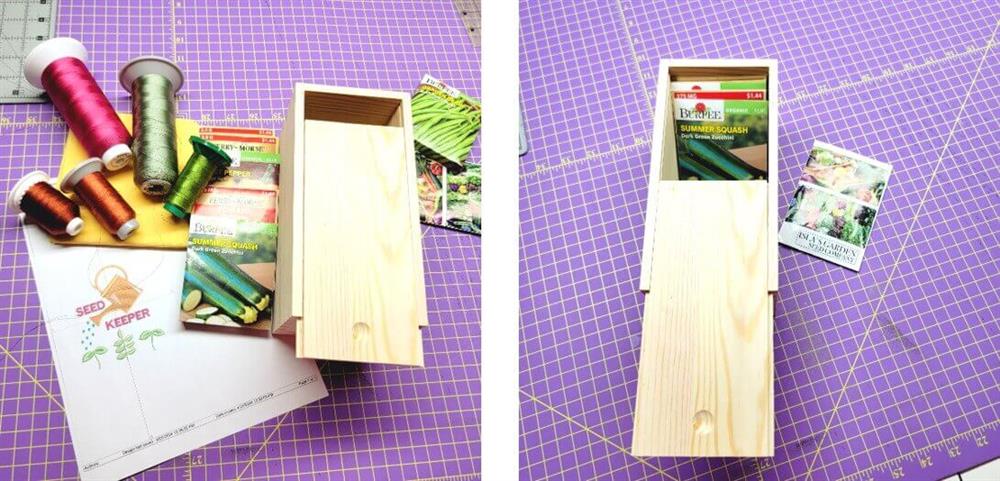
What you’ll need
- Wooden Seed box to fit seed packets
- Packets of seeds
- Plastic to protect work surface
- White acrylic craft paint
- Painter’s tape
- Sponge brush for painting
- Decal printer paper
- Acrylic sealer
- Embroidery software to create text
Featured Design
https://www.grandslamdesigns.com/watering-plants-embroidery-design
Other Designs that may be used:
https://www.grandslamdesigns.com/sweet-peas-embroidery-design
https://www.grandslamdesigns.com/cactus-plants-embroidery-design
Notes
- This started out to be a traditional embroidery project, but then something happened to change the idea! Isn’t that the way things happen sometimes. Looking “homemade” is not the goal of our embroidery projects, but to look professional. Adding and embroidery to the top of the box somehow seemed a little too homemade. It’s a good thing the use of technology can allow us to use software in different ways—such is how this project came to be. Of course, you may embroider the chosen design on fabric and glue it to the top or side of the box; if you do, be sure to use some sort of trim to finish the edges of the fabric.
Preparation
- Please read through all the instructions before beginning.
- Gather all the supplies and purchase and download the embroidery design.
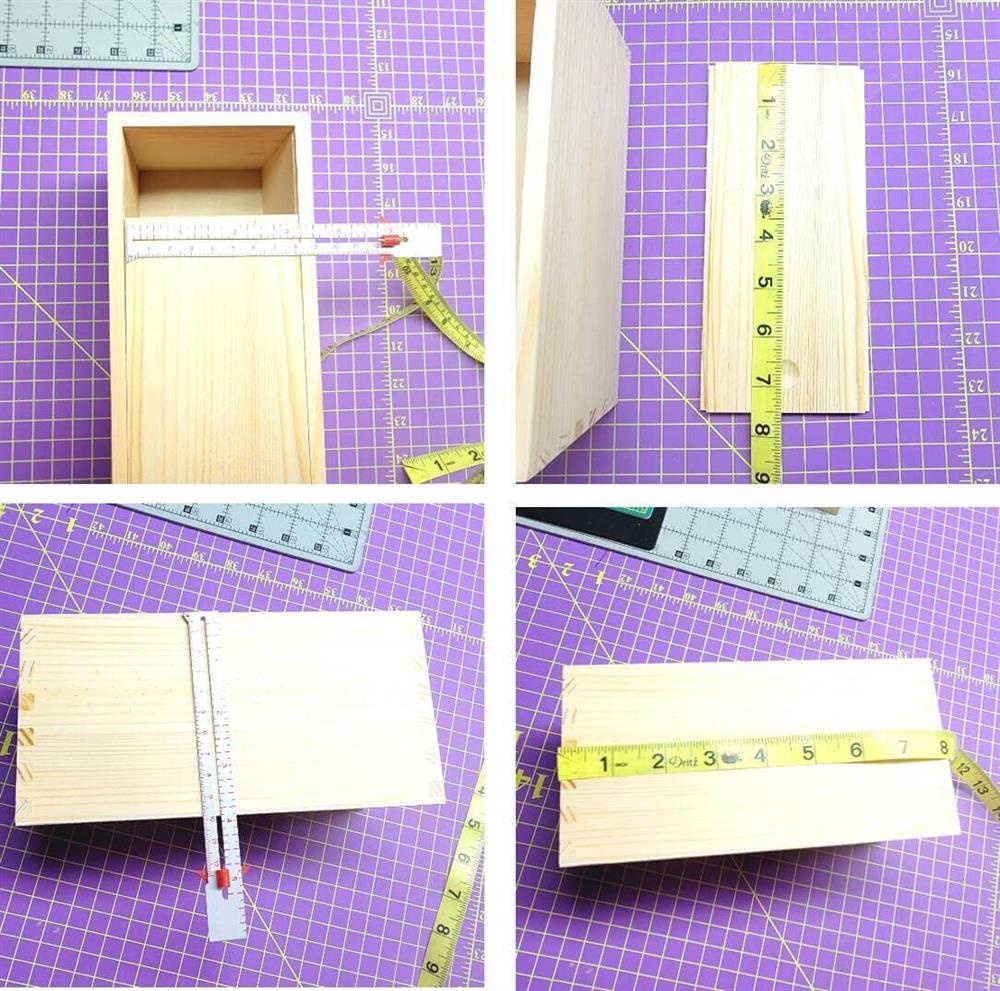
- Measure the dimensions of the box top which slides on and off (the design needs to fit within these dimensions)
- Measure the height and width of the box.

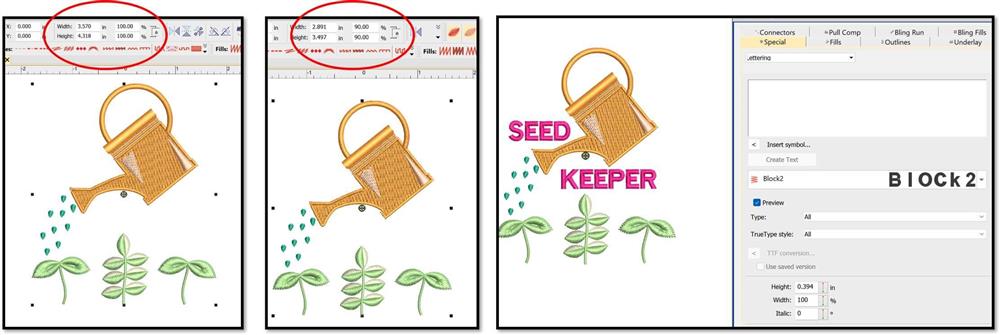
- If you are using machine embroidery for the design, make sure the design will fit where you plan on placing it.
- A design like this can be sized up or down about 10%.
- If the design was resized, be sure to save it as a new file so the original will not be overwritten.
- Add any text you’d like in the software; if you’d like, personalize with a name and/or date.
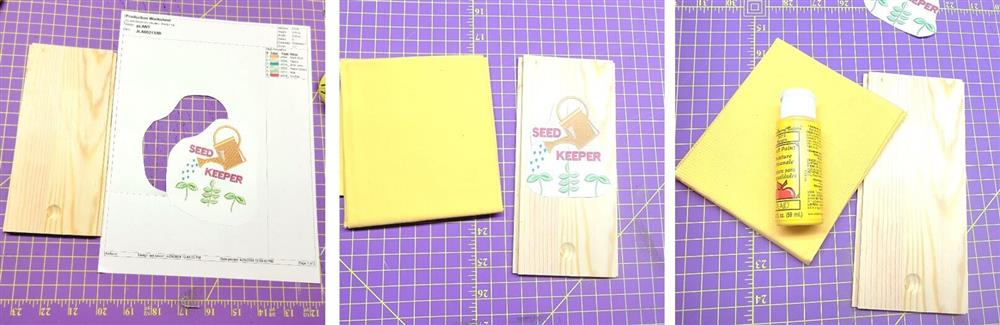
- Print out the design to use as a template.
- Double check to make sure the design will fit as planned.
- If you are embroidering the design, paint the box with acrylic paint that coordinates with the chosen fabric.
Idea!

- As was stated in the notes, as things were being prepared for embroidery, the idea seemed a bit underwhelming—so a previous project doing ceramic cups came to mind! Isn’t that how things happen sometimes, we change ideas as we are creating?
- Make a quick and very easy project by using Decal Printer Sheets!
- It is a novel way to use the embroidery software and creates a clever way to quickly make the box.
Box Preparation
- As was done in steps three and four, prepare the design for printing.
- Make two different files for sayings for the sides of the box.
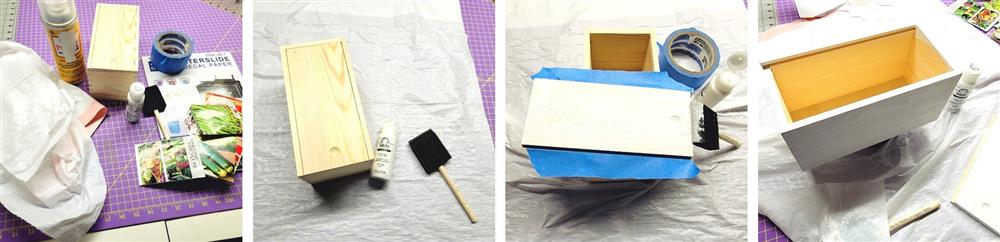
- Cover the work surface.
- Use the painter’s tape to cover areas of the box that shouldn’t be painted, such as the sides of the top that slide into the top of the box.
- Paint the box; two coats should be sufficient allowing time between for drying.
Embroidery Software and Printing
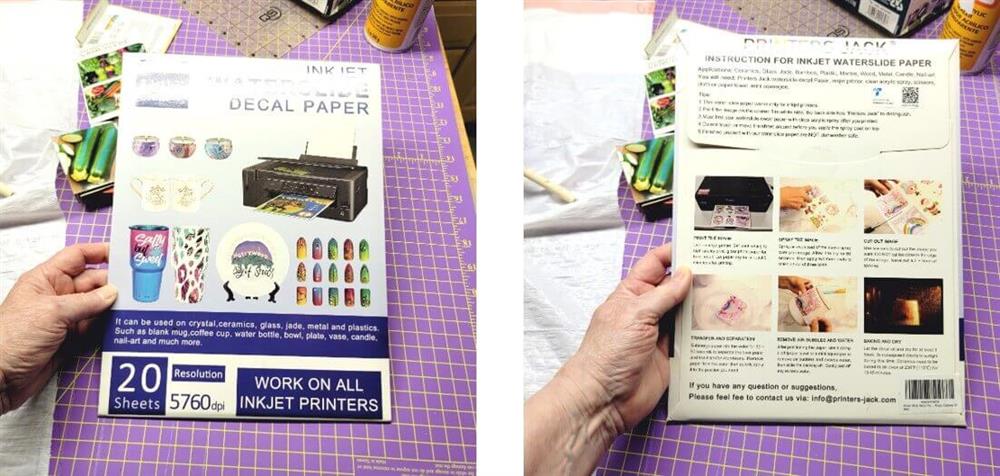
- Read the instructions carefully for which ever Decal Paper being used—they are all slightly different.

- Using the dimensions of the box, prepare the embroidery design.
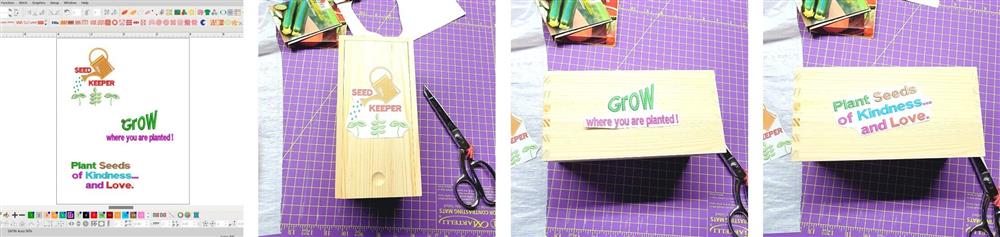
- Use the text/lettering feature of the software to create a saying for each of the sides of the box.
- Save the file.
- Print out the designs, cut them out, and test the placement.
- Make any edits needed and reprint and test to make sure they are what you want.

- Depending on the software, the design may be printed directly from the software, or it may have to be saved out and opened up in another software such as CorelDRAW.
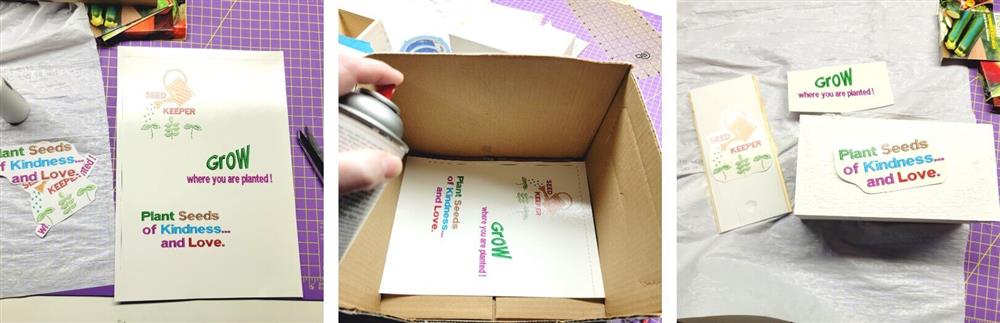
- To make good use of the decal paper, fit all the designs on one page for printing.
- Save the files in case they need to be used again.
- The Decal paper being used for this project said to select high photo quality printing.
- Continue to follow the instructions for the decal paper.
- For this product, the instructions stated to let the ink set and then spray with acrylic sealer several times allowing drying time between (this was done outside in a shaded area.)
Adding Decals
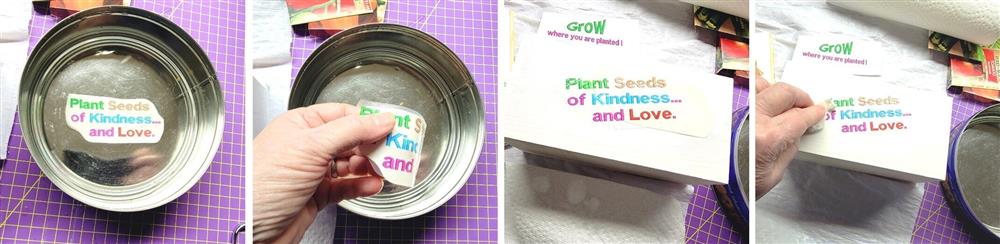
- Continue to follow the decal product instructions.
- Cut the printing out to fit the space.
- Soak in water.
- Slide off the decal into position and dab with a paper towel to remove air bubbles and seal the edges.

- Repeat the steps for the remaining decals.
- After the decals have dried and to help protect the box, apply a coat or two of acrylic sealer to all sides of the box.

- If you don’t want to use decals, another way to use this idea is to follow the steps up to the decal.
- After the paper template is printed, use that to decoupage the printing into position onto the box!
Conclusion
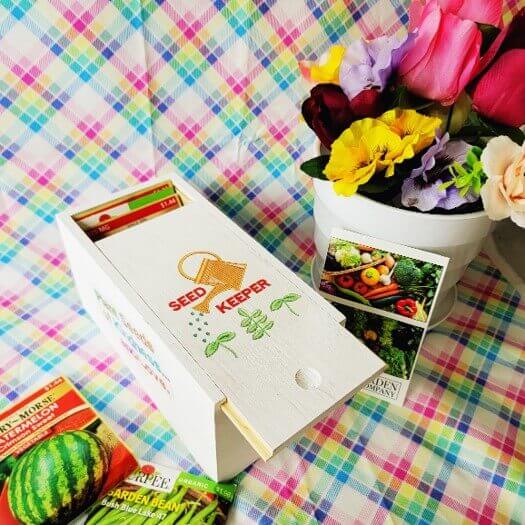
- Insert the seed packets into the box for safe keeping.
Congratulations! Whether for yourself or a gift, learning new ways to use embroidery designs increases your enjoyment of stitching. There is no doubt your project will be a “Grand Slam!”
By the "Grand Slam Designs" Team

