


What you’ll need
- Mugs
- Fabric to stitch designs
- Fabric for backing
- Cotton batting or Insul-Bright
- Stabilizer
- Embroidery thread as stated in color sequence
- Sewing thread
- Hook and loop tape/Mitten clips
- 505 Temporary Spray Adhesive
Notes
- "Mug Hugs" will keep coffee warm for First Responders, and be a thoughtful reminder of your kindness and appreciation!
- Be sure to tell the recipients the Mug Hugs need to be removed before reheating coffee in the microwave!
- Because all mug sizes differ, the amount of materials needed will differ
- Use the instructions to determine the amount of fabric and batting or Insul-Bright you’ll need for your project.
- Press all fabrics with starch and steam the batting if needed.
Featured Design
https://www.grandslamdesigns.com/take-a-hand-2-embroidery-design?variant=1
https://www.grandslamdesigns.com/coffee-4-embroidery-design?variant=1
Preparation
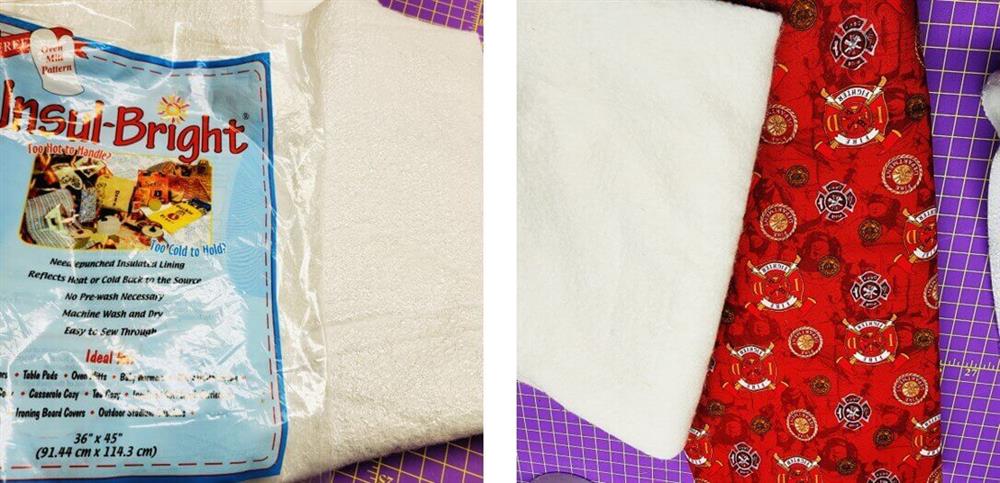
- Insul-Bright is a product used for hot pads; use it alone or in combination with batting.
- When using cotton batting, back the mug hug with a fabric appropriate for the mug hugs.
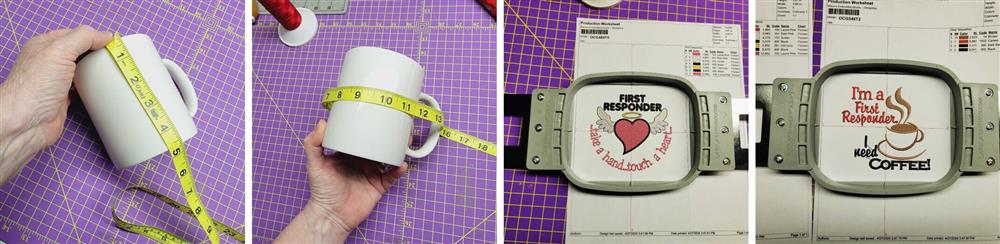
- Measure the height and around the mug.
- Make sure the chosen designs will fit the dimensions of the mug.
- Choose the smallest hoop for stitching the designs.
Machine Prep, Hooping, Stitching
- The first Mug Hug will be using cotton batting with a fabric batting.

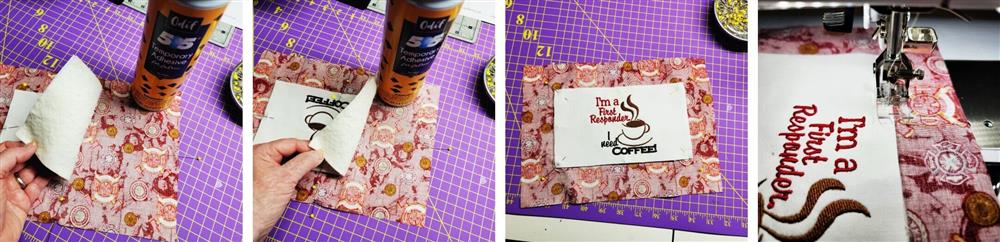
- Hoop the fabric with a piece of cutaway stabilizer
- Load the design and threads onto the machine.
- Stitch the design following the color sequence.
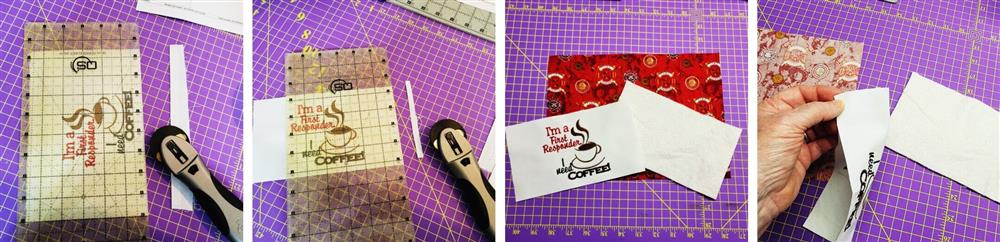
- Trim the fabric all the way around using the dimensions of the mug as a guide.
- Cut a piece of cotton batting the same size as the embroidered fabric.
- Cut a piece of backing fabric 1” larger all the way around than the embroidered fabric.
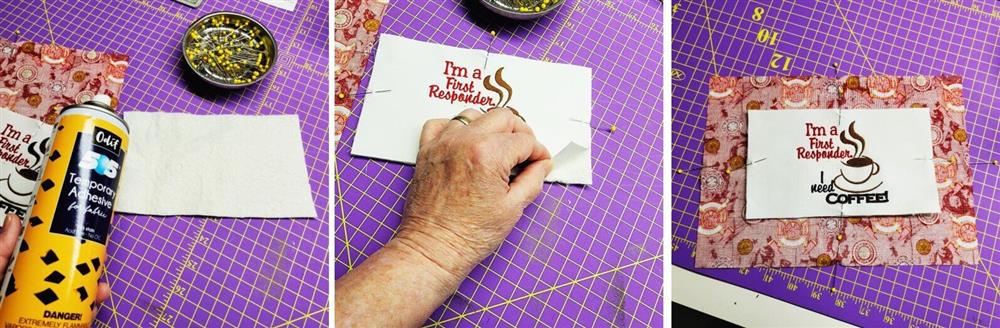
- Spray one side of the batting with the 505 temporary spray adhesive.
- Place the embroidery, right side up, over the batting meeting cut edges all around.
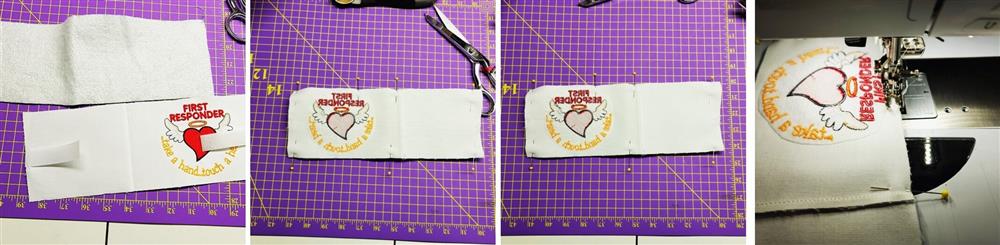
- Find the centers of all edges of the embroidered fabric and backing fabric by folding the edges in half; place pins to mark the centers.
- Place the backing fabric wrong side up on a flat surface.
- Center the embroidered fabric right side up on top of the backing fabric, aligning the pins to center.
- Carefully lift the right side of the embroidered fabric to expose the batting.
- Lightly spray the batting with the 505.
- Smooth the fabric back in place.
- Repeat for the other side.
- Load the sewing thread on the sewing machine.

- Baste the embroidery to the backing fabric around all the edges.
- Trim the backing to ¾” away from the outer edge of the embroidered piece all around.

- Press the top cut edge of the backing to just shy of the top edge of the embroidered fabric, leaving a small gap for the turn of the cloth.
- Press and fold again.
- Turn down the left corner at a 45 degree angle and press.
- Now double fold and press the left side of the backing, creating a beautiful mitered corner.

- Repeat pressing and mitering corners for the remaining sides.
- Use clips or pins to hold the edges in place.
- Sew down the inside folded edge of the binding using a blanket stitch.

- A clever way to use up some of your stash is to use mitten clips as a fastener.
- Depending on the side of the mug hug and the elastic in the mitten clip, you may have to replace the elastic with a longer piece
- Clip the Mug Hug onto the mug.

- For the second Mug Hug, hoop the fabric with stabilizer, stitch and trim.

- If you’d like the Mug Hug to wrap further around the mug, sew another piece of fabric the size needed to one side of the embroidered piece.
- Cut a piece of Insul-Bright the same size as the embroidered fabric piece.
- Test-fit the fabric around the mug, trimming if needed.

- Cut a piece of hook and loop tape a little longer than needed, which will be used to hold the wrap onto the mug.
- Center and pin the loop side, right side up, onto the right side of the embroidered piece as shown and baste in place.
- On the other end of the wrap, place the hook side, right side down, and baste in place as shown.
- When the piece is finished, the hook and loop tape should hook together properly.
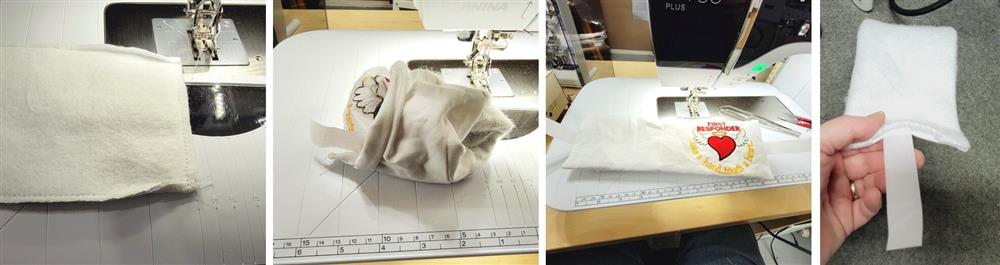
- With the silver side of the Insul-Bright to the right side of the embroidered piece, pin the pieces together around all edges, leaving an opening on the end for turning.
- At the sewing machine, stitch the pieces together.

- Stitch around all sides, leaving the opening for turning.
- Turn the piece, right side out, through the opening.
- Form the corners well and lightly press.
- Turn under the edges of the opening.

- Pin the opening close and hand sew the opening closed.
- If desired, do some quilting to sandwich the pieces together.
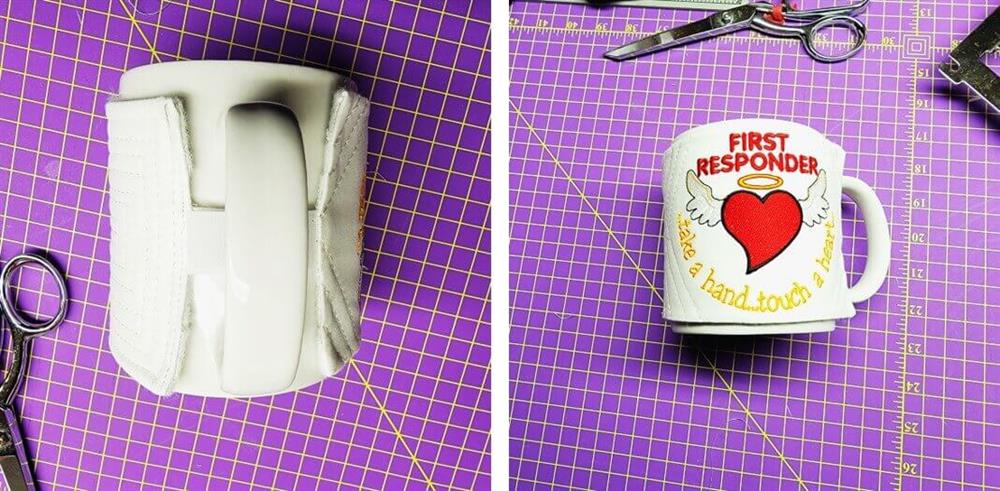
- Wrap the mug with the fabric, securing with the hook and loop tape; trim any excess tape.

- Make several of these Mug Hugs, bake some cookies, and bring to your local fire, police, or ambulance station to show your appreciation to your local first responders. They appreciate your kindness more than you’ll ever know!
Conclusion:
Congratulations! Whether for yourself or a gift, learning new ways to use embroidery designs increases your enjoyment of stitching. There is no doubt your project will be a “Grand Slam!”
By the "Grand Slam Designs" Team

