


What you’ll need
- For each mug rug:
- 1- 6” x 6” white Kona cotton
- 1- 8” x 8” backing fabric
- 1- 5 ½” x 5 ½” cotton batting
- Cutaway stabilizer
- Embroidery thread as stated in color sequence to coordinate with backing fabric
- Printout of embroidery designs
- Optional: 505 Temporary Embroidery Spray Adhesive
Featured Designs
https://www.grandslamdesigns.com/do-your-thing-spring-embroidery-design
https://www.grandslamdesigns.com/spring-has-sprung-embroidery-design
https://www.grandslamdesigns.com/spring-in-the-air-embroidery-design
Preparation
- Gather all the supplies.
- Press the fabrics well with spray starch.
- Coordinate the embroidery threads with the backing fabrics.
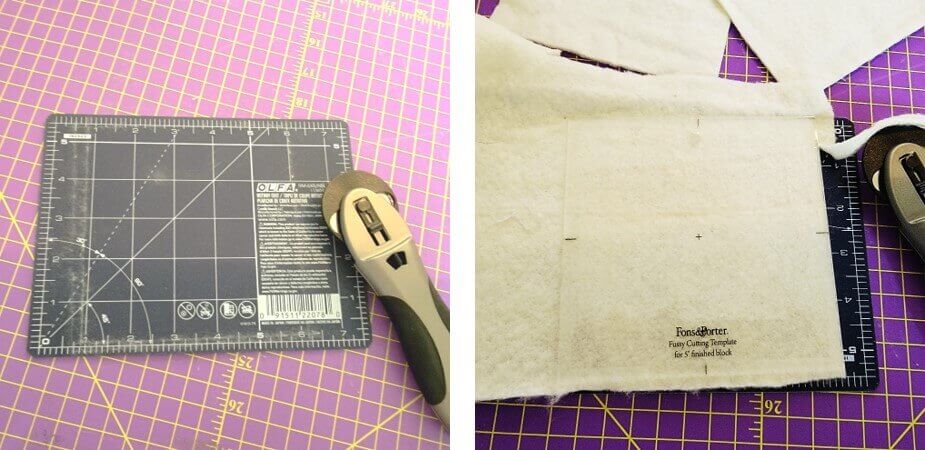
Pro Tip: to cut small pieces such as the batting pieces, use a smaller mat on top of a larger one. Cut one or two sides and then rotate the mat without having to disturb the ruler or fabric/batting!
At the Machine
- Cut the fabric larger than needed for hooping; the fabric, after embroidery, will be cut down to 5 ½” square.
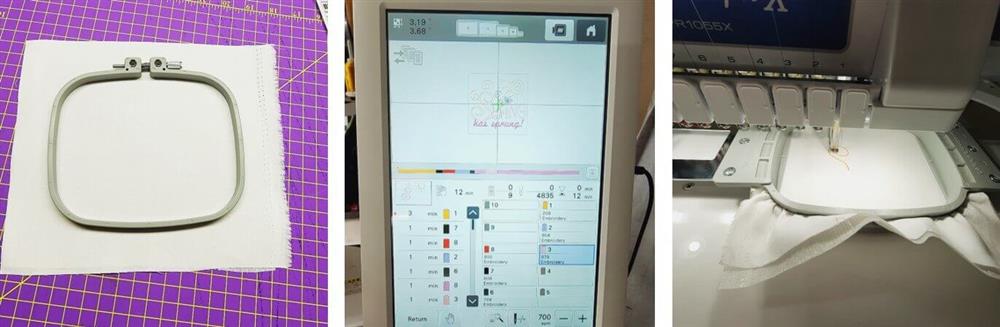
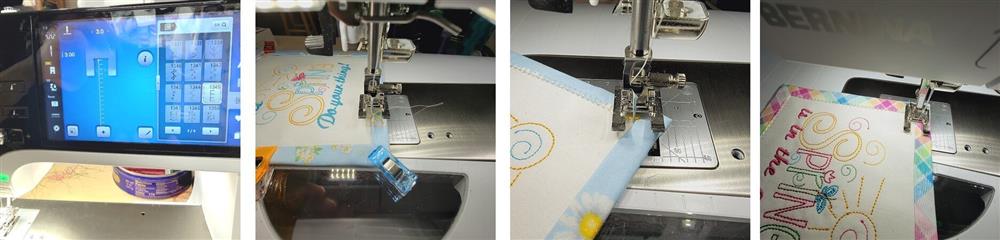
- Load the first design on the machine in the format needed.
- Load the embroidery threads and select the color sequence.
- Hoop the fabric with stabilizer and place the hoop on the machine.
- Stitch the design following the color sequence.
Final Steps
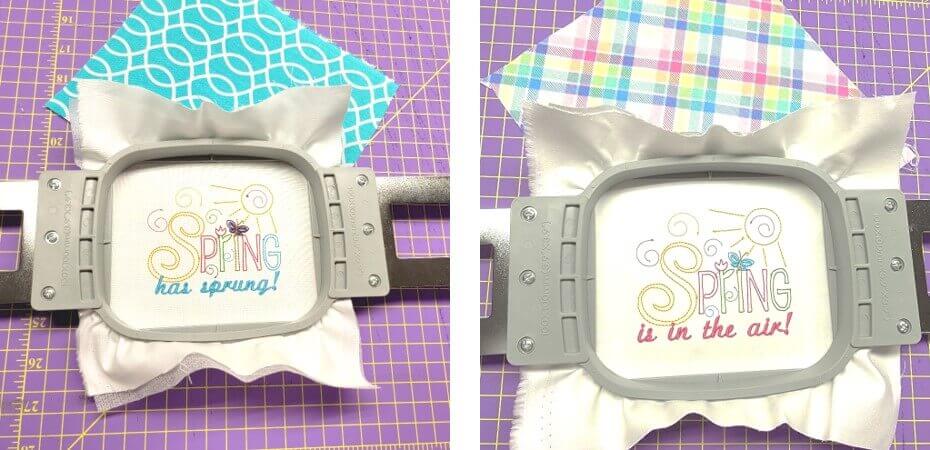
- Repeat the steps of pressing, hooping, and stitching for the remaining two designs.
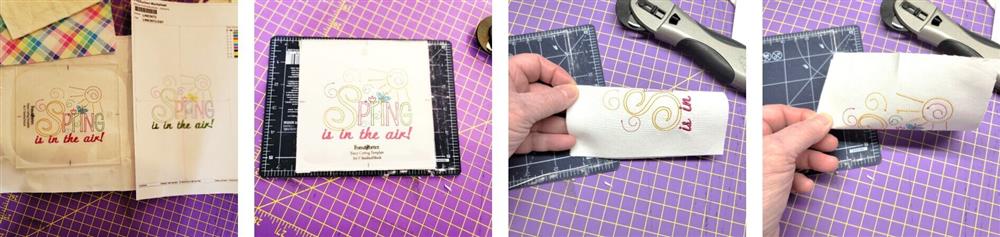
- Remove the embroidered fabric from the hoop and press.
- Use a ruler to square up and center the design to 5 ½” x 5 ½”.
- Fold the fabric in half lengthwise and crosswise and pinch to crease at the edges.

- Quarter fold the backing fabric and crease.
- Spray one side of the batting with 505.
- Place the sprayed side of the batting against the wrong side of the embroidered piece, matching all cut edges.
- Place the backing fabric wrong side up the cutting mat.
- Spray the back side of the batting with 505.
- Using the pinched edges of the embroidered fabric (pins show creases), center the embroidered fabric right side up, matching the creases to the creases on the backing fabric.
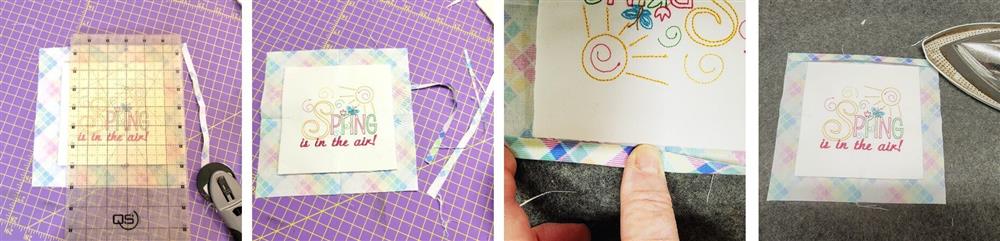
- Using a ruler, place the 1” line of the ruler at the cut edge of the embroidered fabric and trim the backing fabric.
- Repeat for the remaining three sides.
- To create the self-binding, fold in one edge of the outer cut edge to within about2mm of the cut edge of the embroidered fabric and press.
- Fold over again and press.
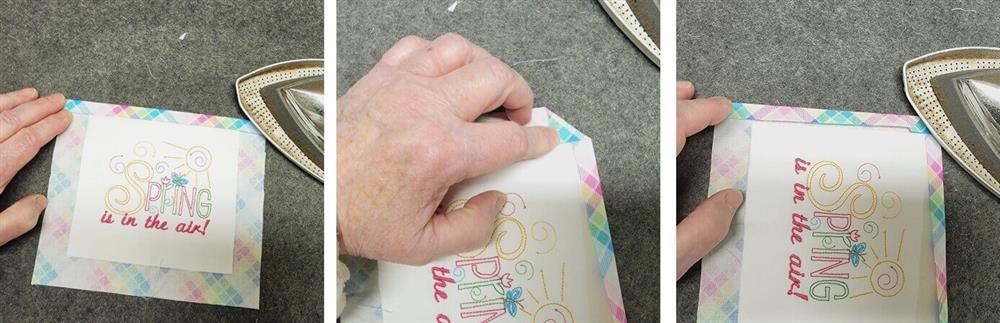
- Fold the corner down at a 45° angle and press.
- Fold the next edge in and press.
- When pressing the corners, be sure they are at a 45° angle, leaving that small amount of space.
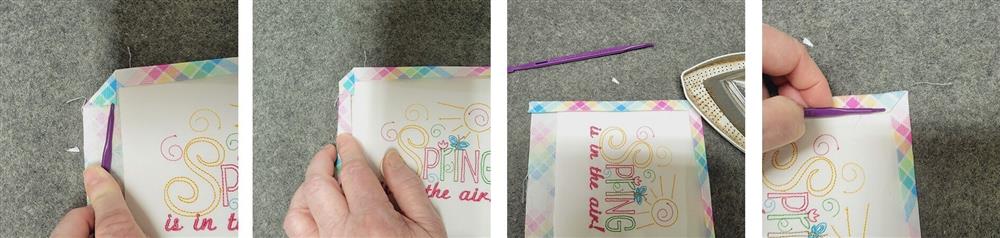
- Fold in the cut edge and press.
- Fold the side in again and press.
- This method creates beautifully mitered corners.
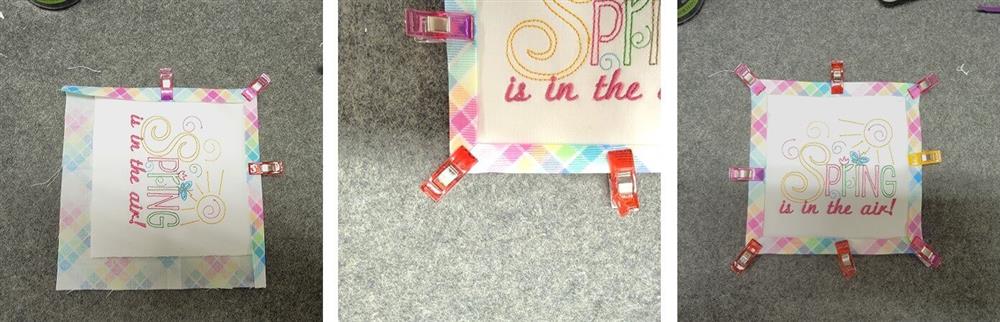
- If you prefer while pressing, use a bit of washable glue stich to help hold things in place while pressing and then use binder clips to secure the sides and corners until the stitching is done to hold the edges in place.
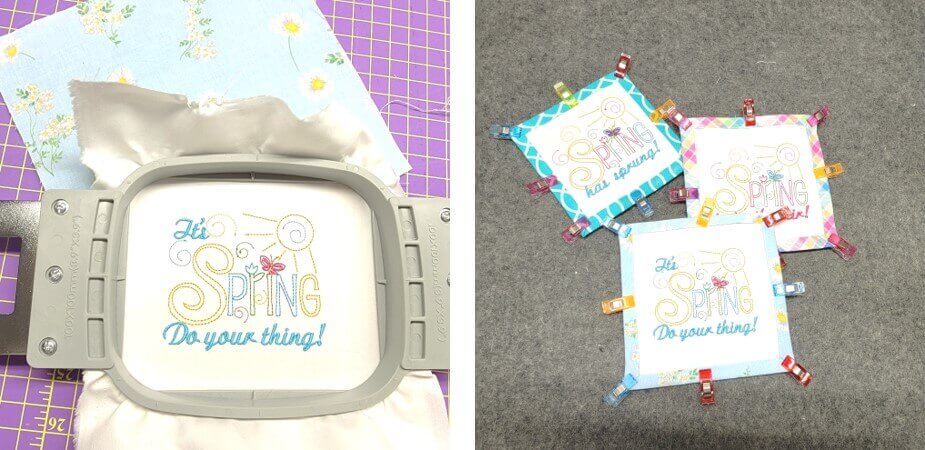
- While completing one mug rug, sew, trim, and back the second one, until all three mug rugs are completed.
- Embroidery thread may be used for the next step; choose a color to match all the mats, or a separate color for each.
- Choose a stitch to secure down the edges of the mug rugs. For the project, three separate stitches were chosen. The first was a blanket stitch, the other two were decorative stitches.
- Use an open toe foot and a zig-zag stitch plate.
- For the blanket stitch the left side of the stitch was just off the fold, and the right side of the stitch caught the binding area of the fabric.

- Here you can see the completed mug mats and the different stitches used to secure the binding.
Conclusion
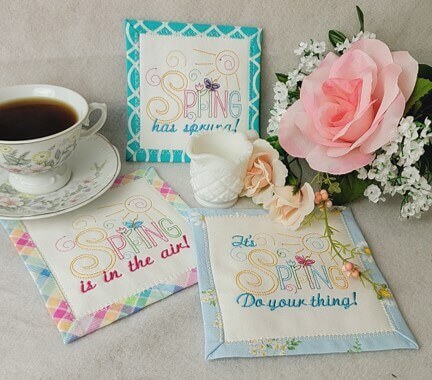
Congratulations! Whether for yourself or a gift, learning new ways to use embroidery designs increases your enjoyment of stitching. There is no doubt your project will be a “Grand Slam!”
By the "Grand Slam Designs" Team


