


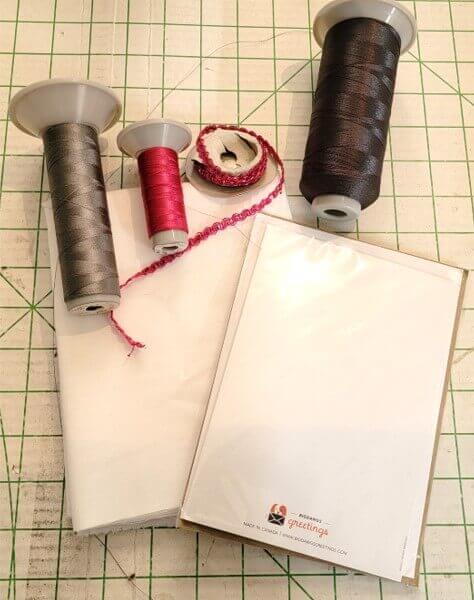
What you’ll need
- 1- White cotton fabric to fit hoop
- 1- Cutaway stabilizer to fit hoop
- Embroidery thread
- Embroidery editing/lettering software
- 1- Recordable plain card
- Trim to coordinate with embroidery thread
- Beacon 3-in-1 Fabric glue
Featured Design
https://www.grandslamdesigns.com/staff-only-embroidery-design
Another Design that can be used
https://www.grandslamdesigns.com/the-new-year-2-embroidery-design
Notes
- Recordable blank cards are available in craft stores and on Amazon.
- The one used for this project: BIGDAWGS 5X7 blank talking greeting card recordable sound music voice chip talking crafts (ordered on Amazon.)
Preparation
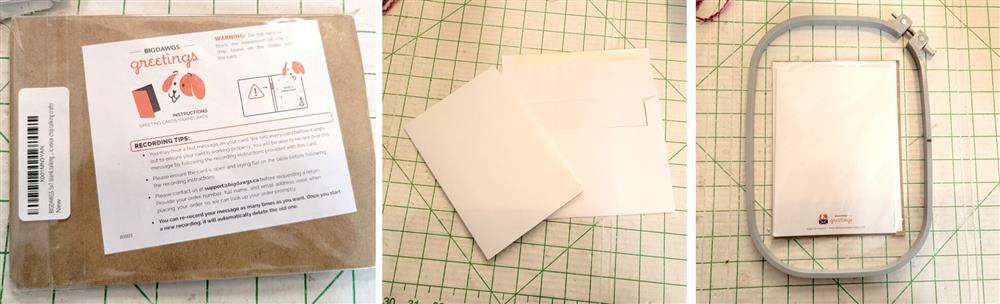
- Directions for recording are included with the card.
- There is an envelope included for mailing.
- Be sure to choose a hoop size to accommodate the card size.
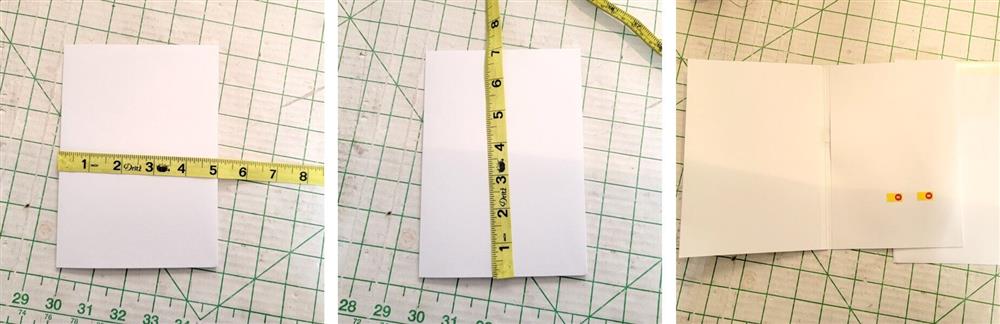
- Measure the card width and height.
- When designing and working with the card, be sure to work on the front side of the card. For this card, the recording is on the inside right.
Embroidery Software Prep
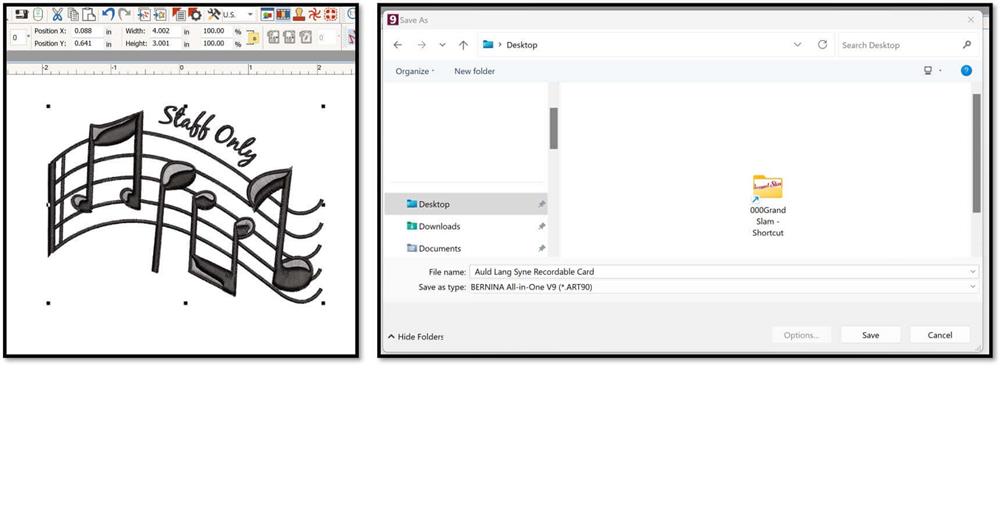
- Open the software and import the Staff Only design.
- Save the file as a new design so the original design won’t be overwritten.

- Create an outline that is the size of the card; for this card that is 5” x 7”.
- Use the alignment tool to center the design in the rectangle.
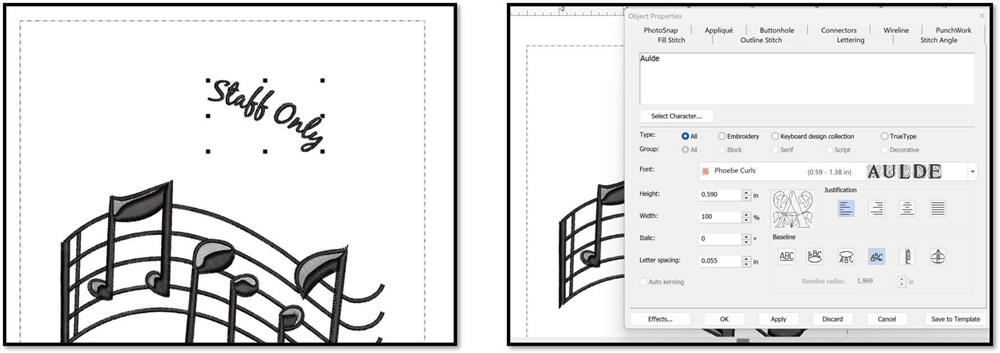
- Select the text “Staff Only” and delete it.
- Open the lettering portion of the software and create each word separately.
- Chose the font style.
- Choose the size for the font.
- If possible, in the software use the Any Shape feature to make the words go along the shape of the music staff.
- Be sure to make any spelling corrections!
- Place all the words above and below the staff as shown.
- Kern/space the letters so they are pleasing.
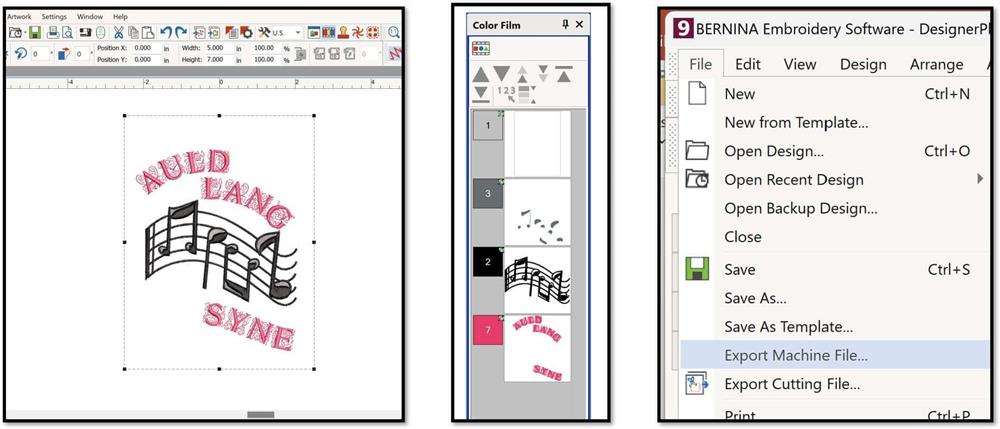
- Resequence the rectangle so it will stitch first.
- Export the design in the machine file format needed.
Machine prep and hooping
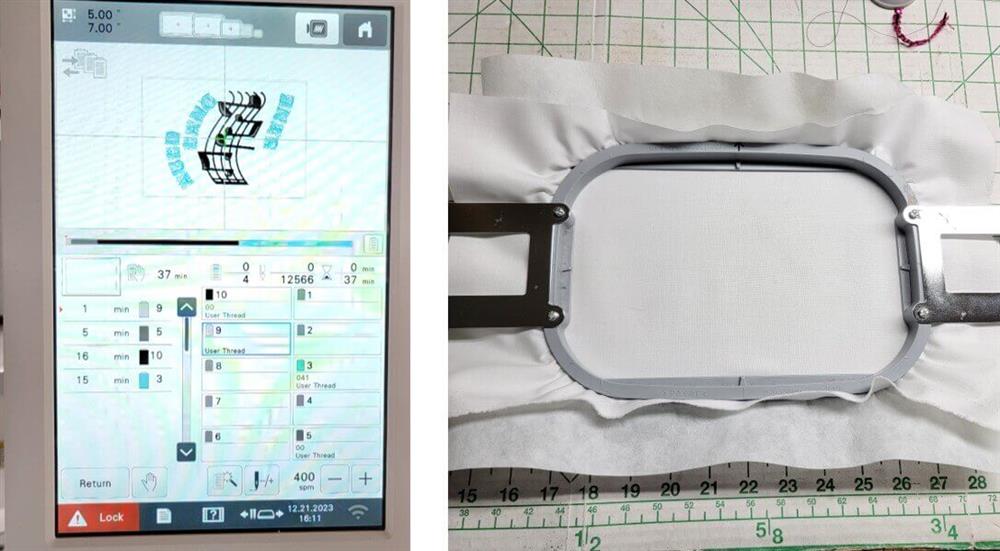
- Load the design on the machine, rotating if necessary.
- Press the fabric and hoop it with a layer of cutaway stabilizer.
Stitching

- Stitch Color 1, the outline; this will be used for trimming the fabric.
- Stitch Color 2, the gray.
- Stitch Color 3, the staff and notes.

- Stitch the text.
- Remove the fabric from the hoop.
- Using a ruler, rotary cutter, and mat, and trim the piece 1/8” inside the outline stitch on all sides.
Final Steps

- Position the fabric on the front of the card.
- Affix using the glue.
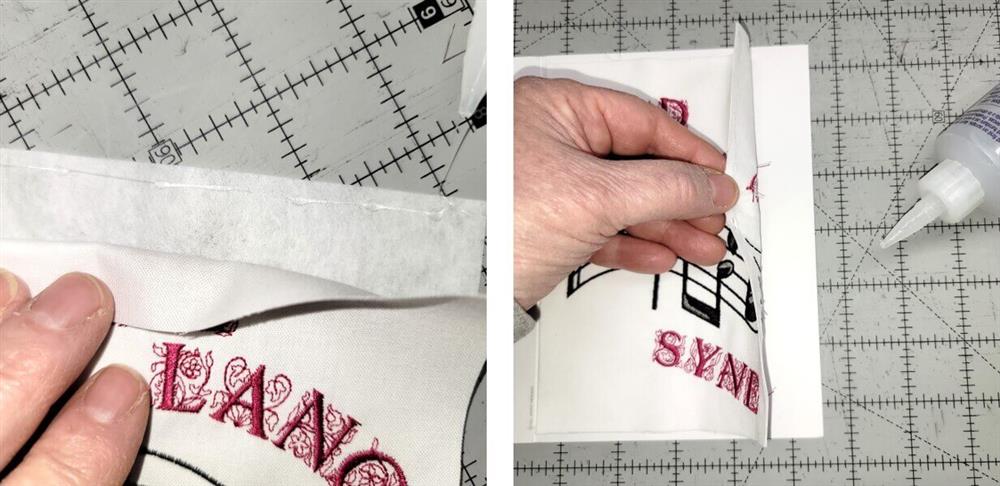
- Run a small bead along all the edges to affix the stabilizer to the fabric.
- Run a small bead on the back side of the stabilizer to glue the fabric/stabilizer to the card front.
- Let the glue dry.
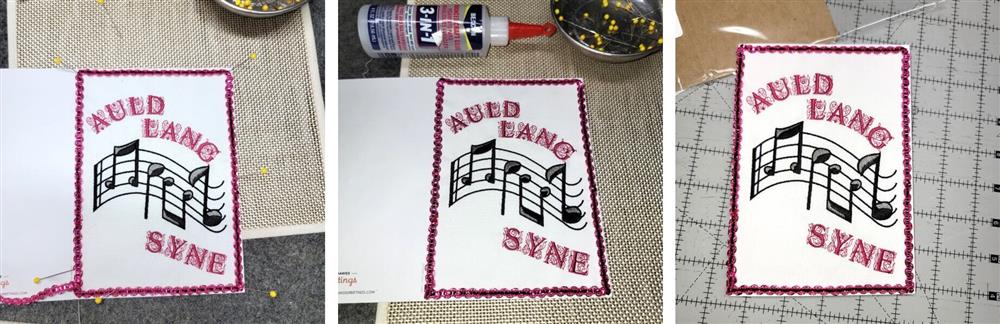
- Measure and pin the trim around the outer cut edge of the fabric—the outer edge of the trim should be just inside the outer edge of the card.
- Working in small sections and with narrow beads of glue, glue the trim to the edge of the fabric.
- Set the card aside to allow the glue to dry overnight.
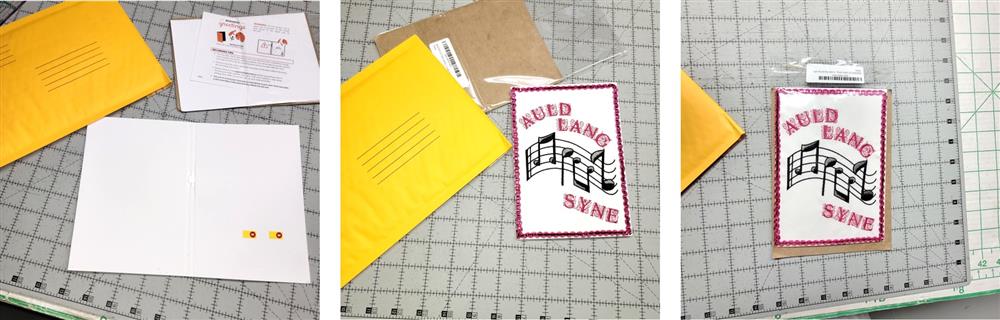
- Read the instructions for recording.
- Write on the card and prepare it for mailing.
- Because of the recording device, it may best to mail in a padded envelope for additional protection.
Conclusion
Congratulations! Whether for yourself or a gift, learning new ways to use embroidery designs increases your enjoyment of stitching. There is no doubt your project will be a “Grand Slam!”
By the "Windmill Designs" Team

