


What You’ll Need
- Embroidery thread in your choice of color
- Battery operated candle (and batteries)
- Fibrous type water soluble stabilizer
- Water to dissolve stabilizer
Featured Designs
https://www.grandslamdesigns.com/fsl-cross-hatch-heart-embroidery-design?variant=1
https://www.grandslamdesigns.com/fsl-cross-hatch-heart-embroidery-design?variant=2
https://www.grandslamdesigns.com/paisley-heart-2-embroidery-design?variant=1
https://www.grandslamdesigns.com/paisley-heart-2-embroidery-design?variant=2
https://www.grandslamdesigns.com/paisley-heart-2-embroidery-design?variant=3
Notes
- Please read through all the instructions before beginning.
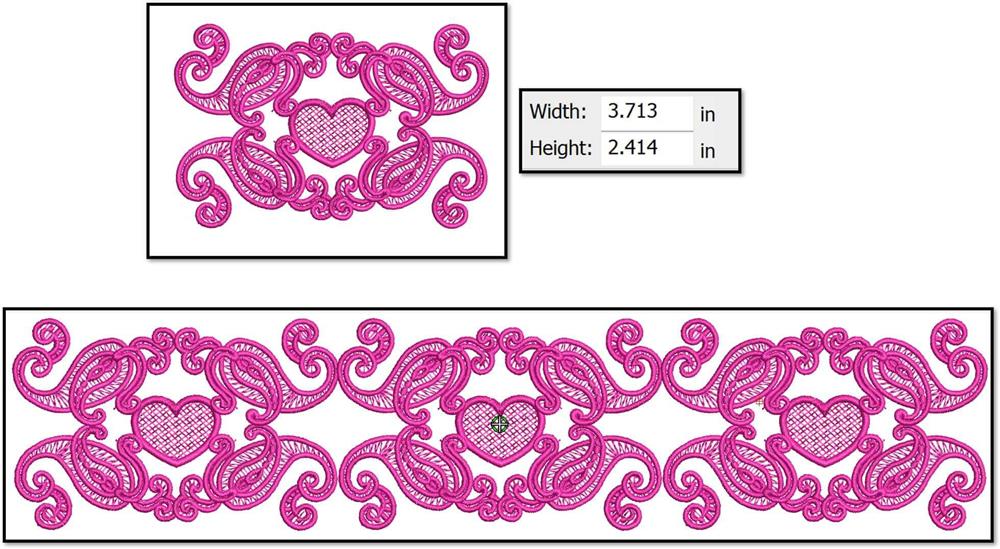
- There are various sizes of the designs; use what you wish for your project. For this project, the smallest sizes of the designs were used.
- For each hooping, use two layers of fibrous water soluble stabilizer. The fibrous type of water soluble stabilizer doesn’t break down as all the stitches are sewn.
- Read through the product instructions for dissolving the stabilizer.
- For stitching success, use the smallest hoop possible for stitching the designs.
- The designs used in this project can be used in so many ways!
- DO NOT use a regular burning candle for this project!
Preparation

- Gather the materials needed to create the projects.
- Measure the circumference of the candle.

- There are two sizes of hearts.
- The smallest heart was used for the project, but the large heart can also be used; the project will just end up larger.
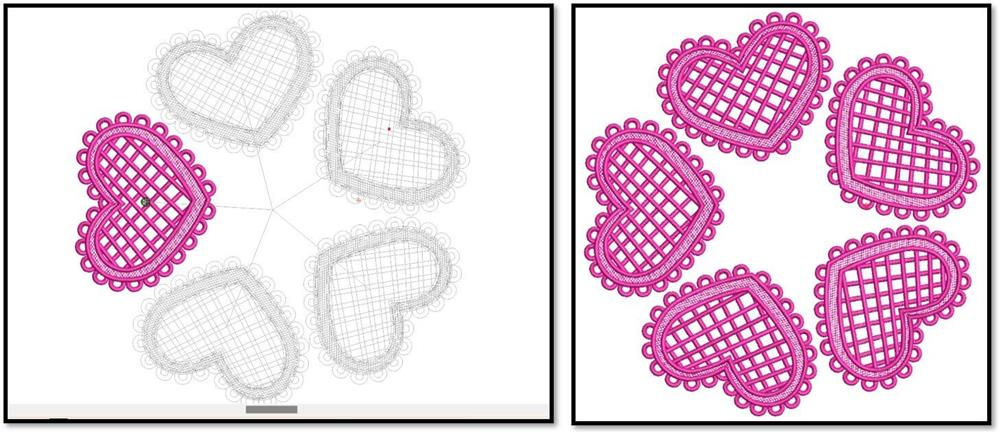
- It is so much fun to play with different layouts in the software.
- If you don’t have software, then just print out several copies of the design and use them to configure different design ideas.
- Once you have figured out which layout you like, then you’ll know how many of each heart needs to be stitched.
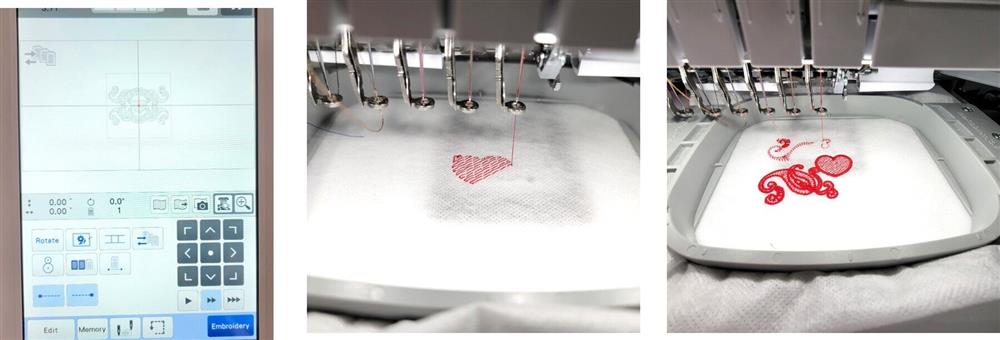
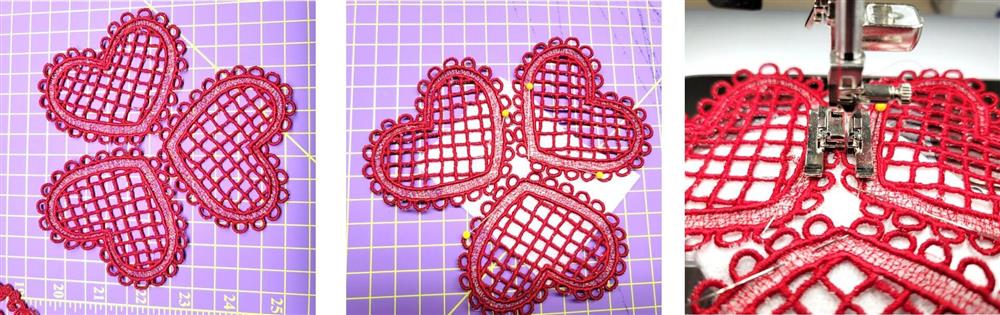
Machine Prep, Hooping, and Stitching
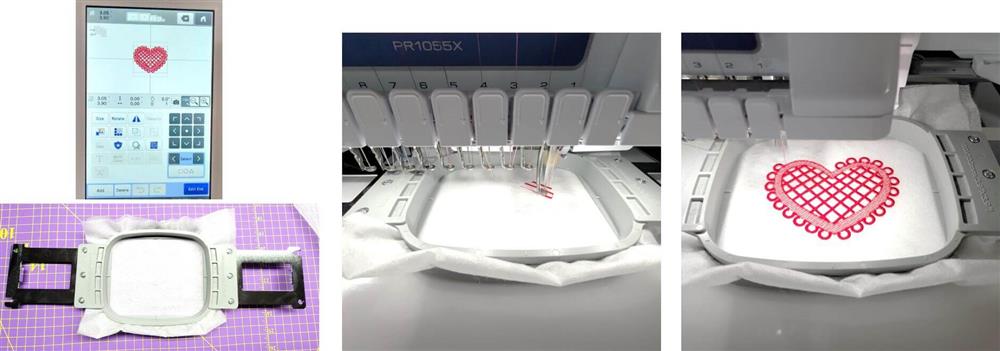
- Load the chosen design and chosen thread color on the machine.
- Hoop two layers of fibrous water-soluble stabilizer.
- Stitch the design.
- It is so much fun to water FSL designs stitch!
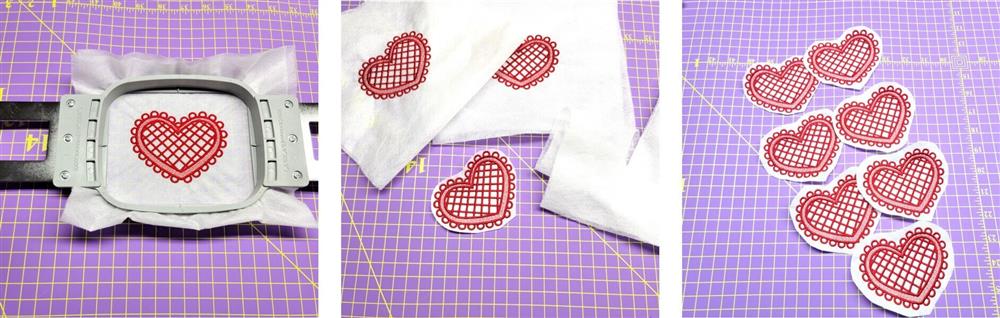
- Repeat hooping and stitching for the number of hearts needed.
- Roughly cut out the designs from the stabilizer.
- Save pieces of the stabilizer for use later.

- Decide on the layout for the heart candle mat—there are so many options!
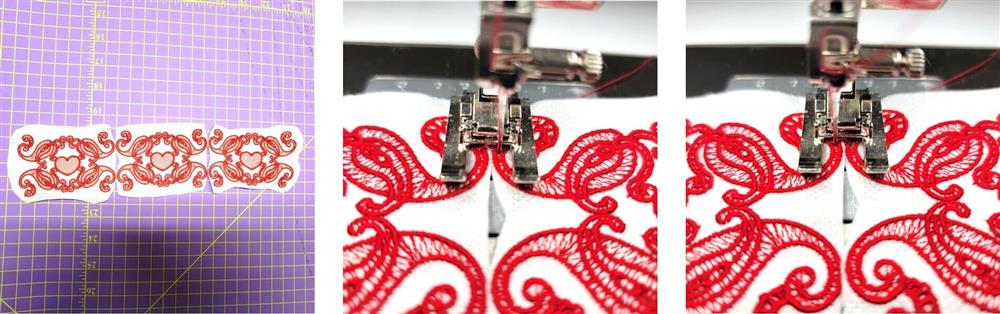
- For the Candle Wrap, follow the same steps as was done for the hearts.
- Hoop two layers of water soluble stabilizer.
- Load the chosen size design on the machine.
- Stitch the design.

- Stitch as many designs as needed to wrap around the candle
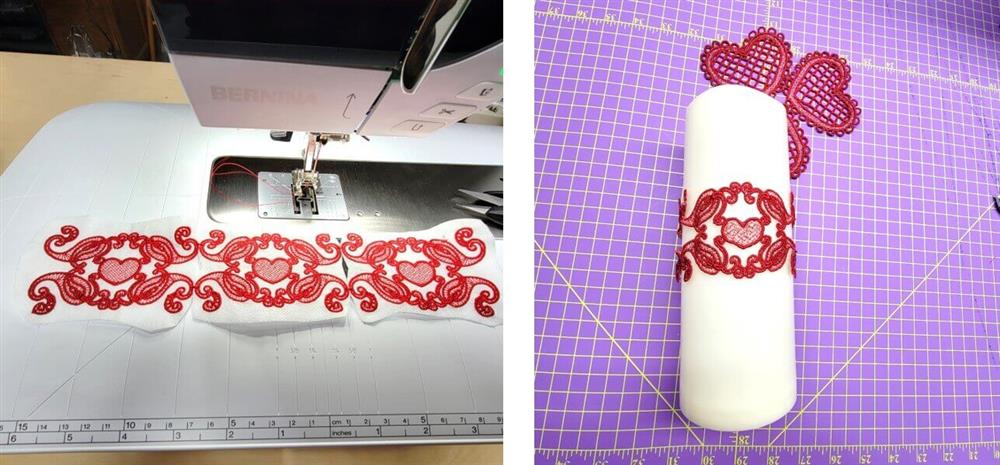
- Trim away the excess stabilizer from around the design, trimming close to the ends—be careful not to cut the threads.
- Thread the sewing machine with the same thread for both the top and bobbin that was used to stitch the design.
- Align the designs as planned.
- Lower the feed dogs on the machine.
- Set the stitch width for 4.0mm and the length to 0mm; this will create a tacking stitch.
- Align and butt the sections together and zig zag the sections together.
- Be sure the needle falls between the satin stitches on both the left and right.
- Repeat for the top and bottom on each section.
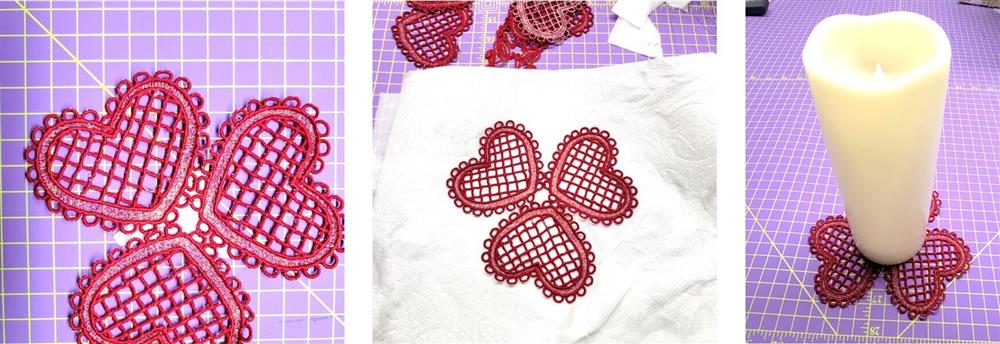
- Rinse out the excess stabilizer described in the next step.
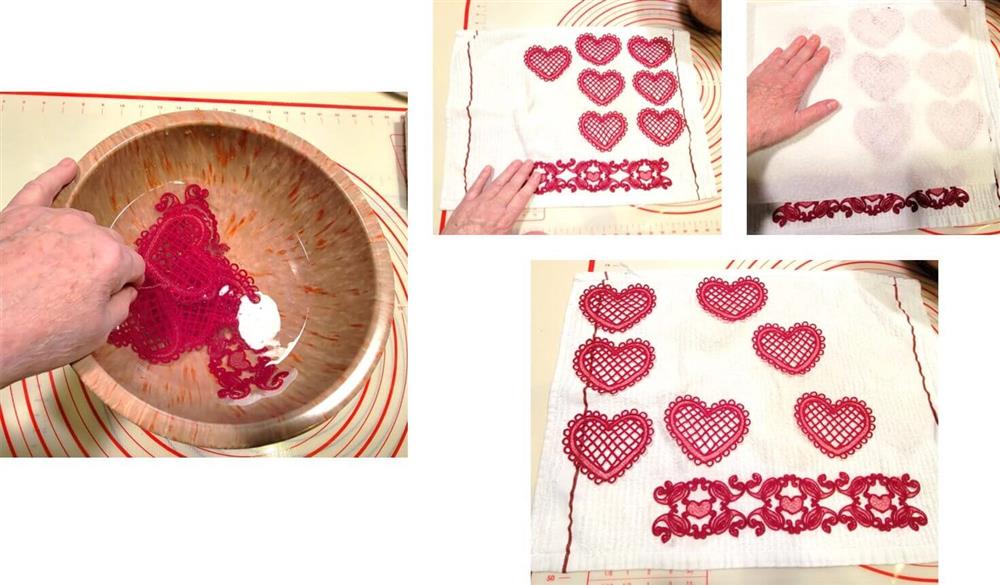
- Once all the designs have been stitched and trimmed, dissolve the remainder of the stabilizer in water following the manufacturers’ directions.
- Lay the designs on the towel and pat the excess water out with a piece of paper toweling.
- Leave the designs to dry, moving them periodically on a dry towel so they don’t stick to the towel.
Final Steps
- Lay out the designs as planned.
- The loops will be attached using a stitch on the machine.
- To aid stitching the loops together, use a double folded piece of water-soluble stabilizer underneath.
- Load the sewing machine with the same thread used to stitch the hearts in the top and bobbin.
- Lower the feed dogs and an open toe foot.
- Position the loops of adjoining hearts and use a button-sewing stitch, or a zig zag set at 4.0mm width and 0mm length.
- Tack the sections together, making sure the needle catches both sides of the loops.
- After all the sections are attached, rinse away the water soluble stabilizer.
- Lay the candle mat flat to dry.
- The candle mat is ready to use.
Decorating
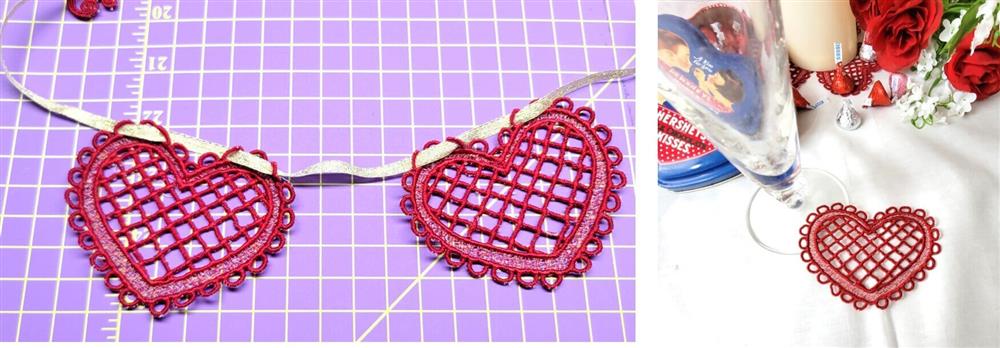
- There are other options for using these FSL designs!
- String them together with a ¼” ribbon running through the loops to make a decorative bunting.
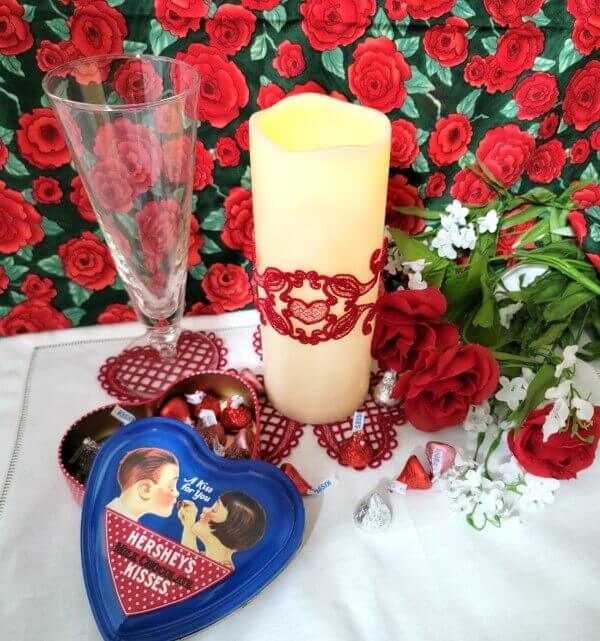
- Use the larger heart as a coaster to coordinate with the rest of the set.
Conclusion:
Congratulations! You will find that by varying the thread color, this project can be used for a bridal shower, anniversary, or even wedding tables! Whether for yourself or a gift, learning new ways to use embroidery designs increases your enjoyment of stitching. There is no doubt your project will be a “Grand Slam!”
By the "Grand Slam Designs" Team

