


What you’ll need
2- kitchen towels with bands for embroidery
Stiff stabilizer (dimension in instructions)
Embroidery thread as stated in color sequence, and to coordinate with towels
Sticky tearaway stabilizer to fit hoop
Sewing thread to match towel
Featured Design
https://www.grandslamdesigns.com/leaf-bookmark-2-embroidery-design
Notes
- General instructions are given. Towel sizes differ, so alter the dimension given in the instructions to fit the basket you are making.
- Seams are sewn with a ½” seam allowance.
- These are general directions only. Adjust the measurements based on the towel size and basket size you’re able to make.
- Use craft stabilizer to make the basket stiff.
- Two towels are needed: one for the outer basket and one for the lining.
- The band of the towel is embroidered and then the band is cut off and attached at the end to complete the basket.
Preparation
- Read through all the instructions before beginning. Print out a copy of the design at actual size.
- Gather the supplies needed.
- Coordinate the embroidery thread with the towel colors.
- Do not cut the stiff stabilizer until it is needed in case there are any adjustments needed in the measurements.

- Press the towels well with spray starch.
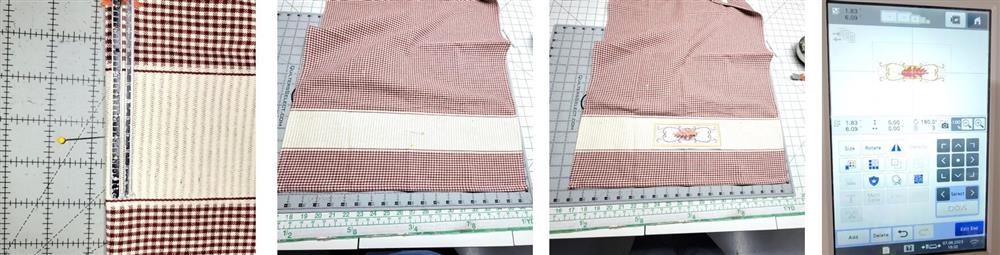
- Measure the band width.
- Fold the towel in half lengthwise.
- Place pins at the center fold and center of the band width.
- Cut out the design, center, and pin in place.
- Load the embroidery design on the machine; program the thread colors.
Machine prep and hooping
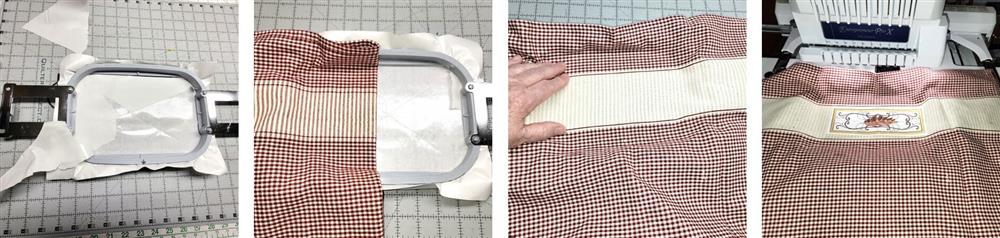
- Hoop a layer of sticky tearaway stabilizer; score and remove the protective paper.
- Center the towel in the hoop.
- Press the towel in place.
- Place the hoop on the machine.
Stitching
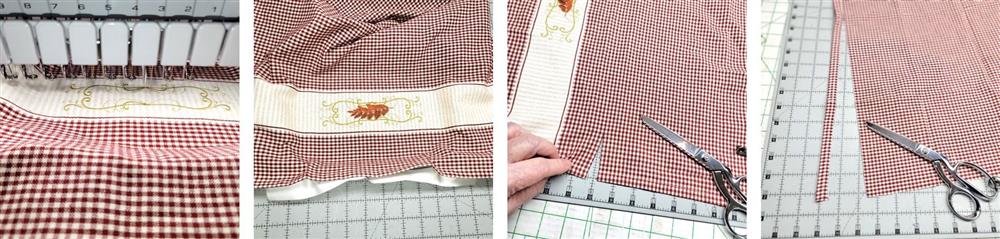
- Stitch the design following the color sequence.
- After the design has finished stitching, remove the towel from the hoop and remove the excess stabilizer.
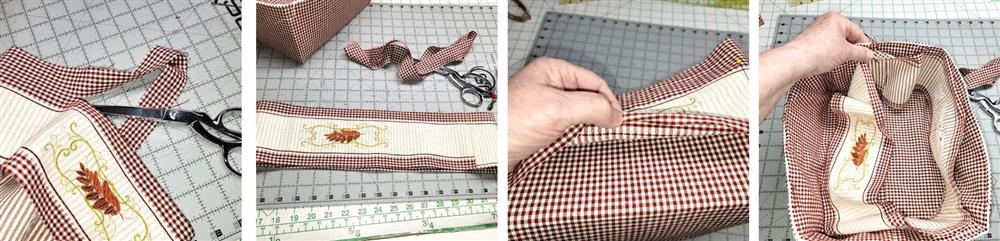
- About 1 ½” above the band, cut the band from the towel.
- Trim the hems off the towel.
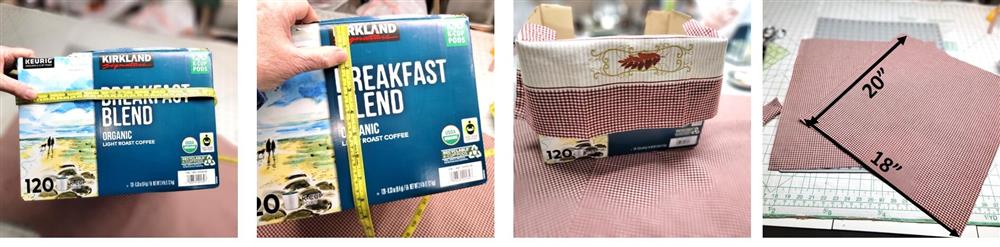
- A box was used to determine the size to make the basket; this size worked out nicely.
- The measurements were used to cut the fabrics: one for the outside, one for the lining. Each was cut 18” wide x 20” long, including seam allowances.
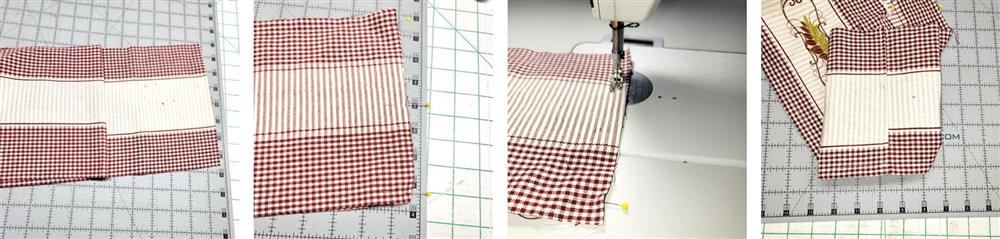
- Place the bands right sides together and sew each side. Note: on this particular set of towels the band width did not match. This portion ends up on the ends of the basket.
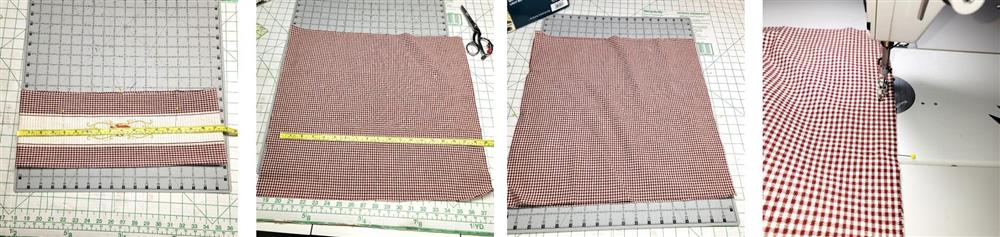
- After the band sides were sewn, then the band was measured again and the width of the fabrics were cut to this measurement, plus 1” for seam allowances.
- Place right sides together and sew ½” seams.

- Press the seams open.
- Cut the fabric half as shown. Now you’ll have one outer piece and one lining piece.
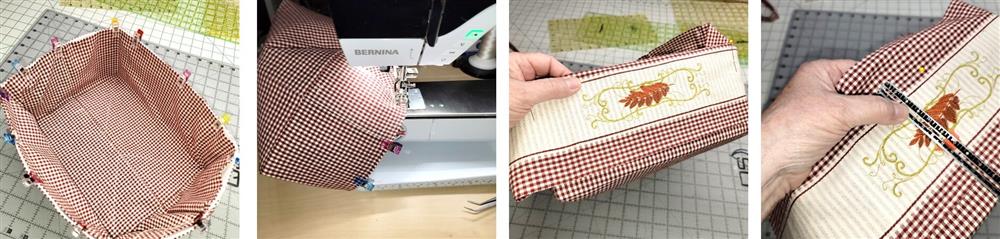
- For each piece sew one long side using a ½” seam allowance; this will be the bottom seam.
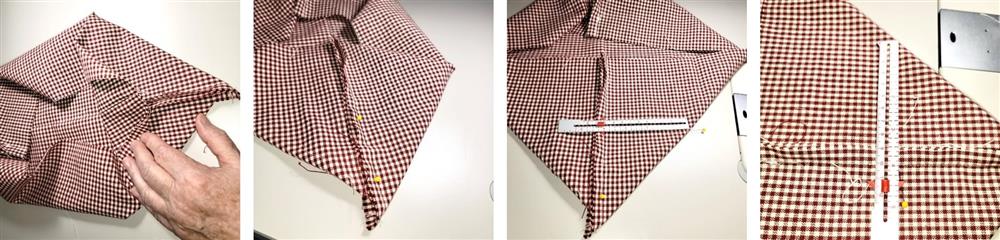
- Now at each corner, box the bottom. Bring the side seam to the bottom seam.
- Measure across and sew the seam 8” across. Repeat for the other side.

- As much as possible, press the seam open and then press to one side.
- Fold and press the triangle points toward the center bottom.
- Stitch along the edges of the triangle through all layers.
- This is how the bottom will look. Repeat for the lining piece.
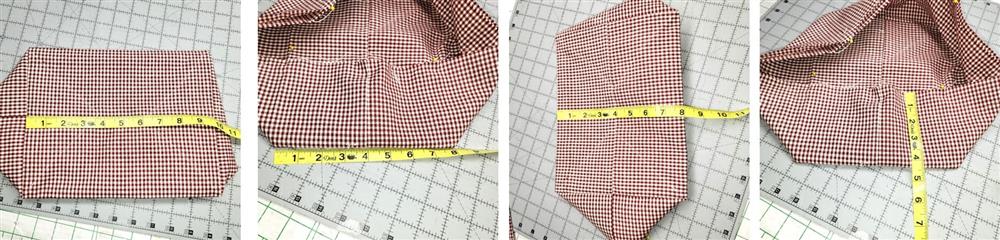
- Measure the outer piece dimensions. Use these dimensions to cut the pieces of the stiff stabilizer; do not add seam allowances.

- Cut the pieces of stiff stabilizer and lay them out as shown with the bottom in the center, long sides together, and ends together.
- Using a 3-step zig zag stitch, but the edges together and sew the pieces together.
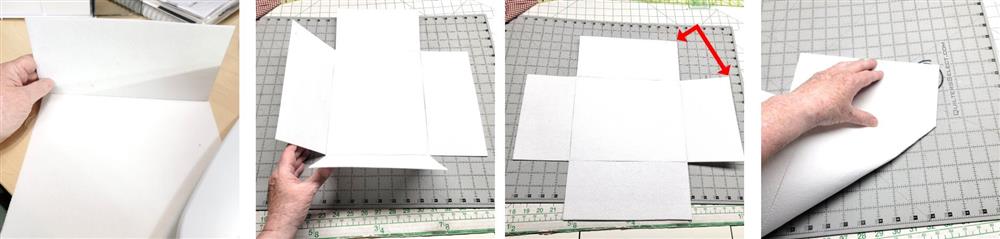
- Using this stitch will allow the sides to fold up.
- Join the side edges at the corners.
- Sew the corners together from the top to the bottom.
- The inner portion of the box is completed. This stiff stabilizer helps the basket keep its shape.

- Place the stabilizer shape inside the outer fabric and baste the two together at the top.
- Place the lining inside the basket, right side out and clip the cut edges together. Baste along the top.
- Now determine the placement of the band piece.
Border/Final Steps
- For this basket, a bit was trimmed off the top, leaving a ½” seam allowance. Just enough was trimmed so that when it was sewn to the basket and flipped to the front, the top was right along the top edge of the basket.
- Trim the top as measured.
- Determine the depth of the band, plus seam allowance. Hem the bottom of the band.
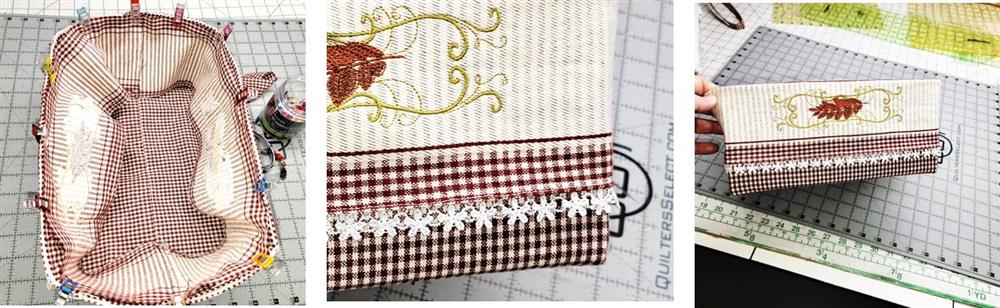
- Place the right side of the band toward the lining, matching the side seams.
- Clip the cut edges to the top of the basket.
- Sew the seam at the top edge and finish it with a zig zag stitch. Flip the band to the right side.
- The band looked too plain, so a little lace trim was stitched to the bottom of the hem.

Conclusion:
Congratulations! Whether for yourself or a gift, learning new ways to use designs increases your enjoyment of stitching. There is no doubt your project will be a “Grand Slam!”
By the “Grand Slam Designs” Team
